The humble roast chicken: a dish so ubiquitous it’s easy to overlook its rich history and enduring cultural significance. While pinpointing its exact origins is impossible, the practice of roasting poultry dates back millennia. Evidence suggests that humans have been cooking birds over open fires since the dawn of civilization, with depictions of roasted fowl appearing in ancient Egyptian art and being referenced in early Roman cookbooks. The technique of roasting, itself, evolved alongside our understanding of fire control and cooking vessels, gradually transforming from a simple spit-roasting method to the diverse array of roasting techniques we see today.
Roast chicken’s enduring popularity is undeniable. It’s a staple in countless cuisines worldwide, from the classic British Sunday roast to the flavorful preparations found in French, Italian, and Asian cooking. Its versatility is key—it can be a simple yet satisfying weeknight dinner or the centerpiece of an elaborate feast. This adaptability, combined with its relatively affordable cost, has solidified its place as a culinary cornerstone. In fact, according to recent surveys, chicken is the most consumed meat in the United States, with an estimated annual per capita consumption exceeding 90 pounds. This high consumption rate reflects the dish’s accessibility and appeal across demographics.
Beyond its nutritional value and ease of preparation, roast chicken holds significant cultural weight. It often symbolizes comfort, family gatherings, and celebrations. The aroma of a roasting chicken evokes feelings of warmth and nostalgia for many, conjuring images of family dinners and cherished traditions. This powerful emotional connection has cemented its position not just as a food but as a cultural icon, frequently appearing in literature, film, and popular culture as a representation of home and hearth. The perfect roast chicken, therefore, is more than just a delicious meal; it’s a culinary experience steeped in history and brimming with cultural significance.
Ingredients and Measurements
The success of a perfectly roasted chicken hinges on using high-quality ingredients and precise measurements. Don’t skimp on the basics – it will show in the final product.
For the Chicken: You’ll need one whole chicken, approximately 3-4 pounds. Choosing a free-range or organic chicken will result in a more flavorful and tender bird. Look for a chicken with firm flesh and a pleasant aroma. Avoid any with discoloration or unpleasant odors.
For the Aromatics: Aromatic vegetables and herbs are key to infusing the chicken with incredible flavor. I recommend using the following:
- 1 large lemon, halved
- 4 sprigs fresh rosemary
- 4 sprigs fresh thyme
- 4 cloves garlic, smashed
- 1 large onion, quartered
- 2 carrots, roughly chopped
- 2 celery stalks, roughly chopped
Feel free to experiment with other herbs and vegetables based on your preferences. Sage, parsley, and parsnips all work well.
For Seasoning: Simple seasonings elevate the chicken’s natural flavor. You will need:
- 1 teaspoon kosher salt
- 1/2 teaspoon freshly ground black pepper
Use kosher salt, as it’s less dense than table salt, allowing for even seasoning. Adjust the amount of salt to your taste, but don’t be afraid to use a generous amount – it’s crucial for enhancing the flavor.
For Roasting: You’ll need approximately 1 cup of chicken broth or water to create moisture in the roasting pan and help prevent sticking. Using chicken broth adds another layer of flavor to the pan drippings, perfect for making gravy later.
Optional additions: For extra flavor, consider adding 1 tablespoon of olive oil to the chicken before seasoning. You can also add a few bay leaves to the roasting pan with the vegetables. Remember to remove them before serving.
Accurate measurements are crucial for achieving the perfect roast. Using a kitchen scale for the chicken and measuring spoons for the seasonings will ensure consistent results.
Equipment Checklist
Making a perfect roast chicken requires the right tools. This checklist ensures you have everything you need for a smooth and successful cooking experience. Don’t skip any items – each plays a crucial role in achieving that crispy skin and juicy meat.
1. Roasting Pan: You’ll need a roasting pan large enough to comfortably accommodate your chicken. A 12-inch by 17-inch roasting pan is generally suitable for a standard 3-4 pound chicken. Avoid using a pan that’s too small, as this can restrict airflow and lead to uneven cooking. A good quality roasting pan with slightly raised sides is ideal for preventing spills.
2. Roasting Rack: A roasting rack is essential. It elevates the chicken above the accumulated juices at the bottom of the pan, resulting in crispier skin and more even cooking. Choose a rack that fits snugly within your roasting pan. A wire rack, approximately 11 inches by 15 inches, is recommended for a standard-sized chicken.
3. Meat Thermometer: This is arguably the most important piece of equipment. A reliable instant-read meat thermometer is crucial for ensuring the chicken is cooked to a safe internal temperature of 165°F (74°C) in the thickest part of the thigh. Don’t rely on visual cues alone; a thermometer guarantees perfectly cooked chicken every time.
4. Basting Spoon or Brush: For basting the chicken with its own juices or with additional fat during cooking. A silicone basting brush is ideal as it is heat resistant and easy to clean. A large spoon can also be used for basting, particularly if you prefer to use pan juices.
5. Kitchen Tongs: Essential for safely handling the hot chicken during and after cooking. Avoid using forks, which can pierce the skin and release juices, leading to a drier bird.
6. Sharp Knife and Carving Fork: For carving the cooked chicken neatly and efficiently. A sharp knife ensures clean cuts and prevents tearing. A carving fork helps to keep the chicken steady during carving.
7. Oven Mitts or Gloves: For protecting your hands from the heat when handling the hot roasting pan and chicken.
8. Optional: Herb Sprigs (Rosemary, Thyme): Fresh herbs add flavour and aroma. These can be placed inside the chicken cavity or on top before roasting.
9. Optional: Garlic Cloves: Adding a few cloves of garlic inside the cavity or under the skin further enhances the flavour profile.
Having all these items readily available will streamline your cooking process and help you achieve a flawlessly roasted chicken.
Preparation of the Chicken
Selecting the right chicken is crucial for a perfect roast. Aim for a whole chicken weighing between 3 and 4 pounds. This size generally provides a good balance of cooking time and yield. Avoid chickens that appear dry or have an unpleasant odor. Look for plump breasts and firm, smooth skin.
Once you’ve chosen your chicken, thoroughly rinse it inside and out under cold running water. Pat the chicken completely dry with paper towels. This is a vital step; excess moisture will prevent the skin from crisping properly. Take your time with this process – a dry bird is key to a beautifully browned exterior.
Remove any giblets (liver, heart, gizzard) from the cavity of the chicken. These can be saved for making gravy or stock later. Discard any excess fat found in the cavity or around the chicken. You can also use kitchen shears to trim away any excess skin or fat from the legs and wings, which will help the chicken cook more evenly.
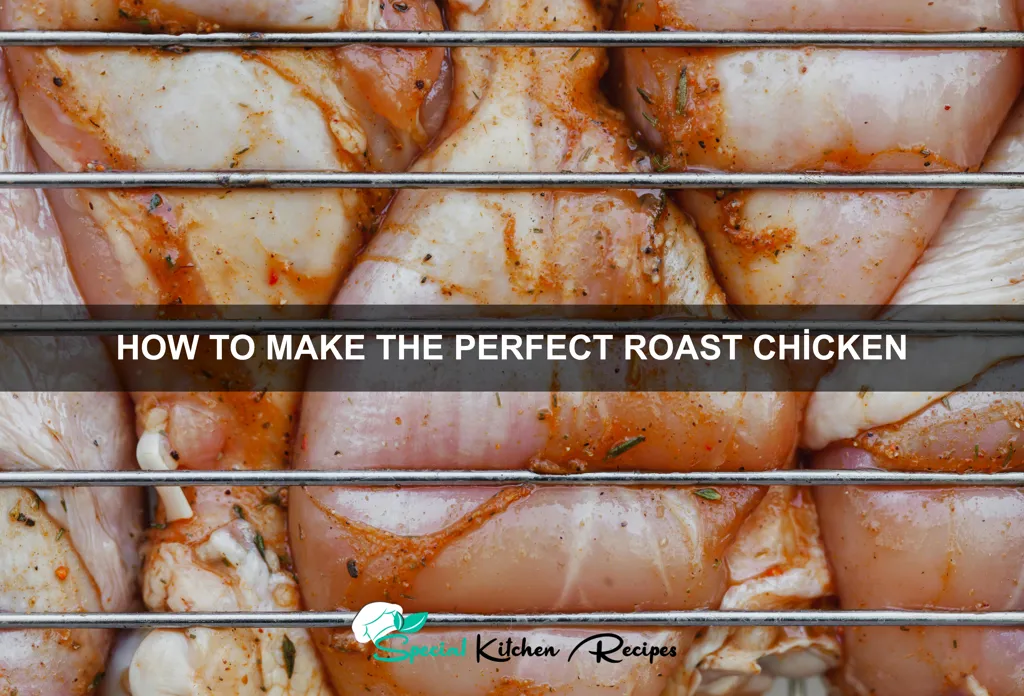
Now, it’s time to season the chicken. For a classic roast, generously salt and pepper the entire bird, both inside and out. Use about 1 teaspoon of kosher salt and ½ teaspoon of freshly ground black pepper. Don’t be shy with the seasoning; the salt will help to season the meat throughout the cooking process. You can also add other herbs and spices at this point, such as rosemary, thyme, or sage, tucked under the skin and into the cavity.
For extra flavor and moisture, you can stuff the cavity with aromatics. A simple combination of quartered lemons, a few sprigs of fresh herbs (rosemary and thyme work well), and a few cloves of garlic will add a delightful fragrance and subtle flavor to the finished chicken. However, be mindful that stuffing the chicken will slightly increase cooking time.
Finally, truss the chicken (optional but recommended). Trussing helps the chicken cook evenly and maintain its shape. You can use kitchen twine to tie the legs together and tuck the wings behind the back. This ensures even cooking and prevents the legs and wings from burning before the breast is cooked through. If you’re unsure how to truss a chicken, plenty of helpful videos are available online.
Preheating the Oven and Roasting Pan
Proper preheating is crucial for achieving a beautifully browned and evenly cooked roast chicken. Don’t skip this step! A cold oven will significantly increase cooking time and result in a pale, undercooked bird. We’ll aim for a consistent oven temperature of 425°F (220°C).
Begin by placing your roasting pan on the middle rack of your oven. This ensures even heat distribution around the chicken. Avoid placing the pan directly on the bottom of the oven, as this can lead to uneven browning and potentially burning the bottom of the chicken. The middle rack provides optimal space for air circulation.
Now, preheat your oven. Allow at least 20-30 minutes for the oven to reach the desired temperature of 425°F (220°C). Many modern ovens have a preheat indicator light that will turn off once the temperature is reached. However, for extra accuracy, especially with older ovens, it’s recommended to use an oven thermometer. This ensures your oven is truly at the correct temperature before placing the chicken inside.
While the oven preheats, prepare your roasting pan. A heavy-duty roasting pan, preferably made of dark metal like cast iron or dark-colored stainless steel, will absorb and retain heat more effectively, contributing to a crispier skin. A 12-15 inch roasting pan is generally suitable for a standard 3-4 pound chicken. If using a lighter-colored pan, consider preheating it in the oven alongside the rest of the oven for a few minutes to help it absorb more heat.
Important Note: Do not add oil or butter to the roasting pan before preheating. Adding fat to a hot pan can cause it to smoke excessively. It’s best to add your chosen fat (oil or butter) to the pan *after* you’ve placed the seasoned chicken inside, just before it’s placed in the preheated oven. This prevents burning and allows for better adherence of the fat to the chicken skin for enhanced browning.
Once the oven is fully preheated and your roasting pan is ready, your chicken is ready for its star turn! The preheating process ensures a successful roast, contributing to a juicy interior and gloriously crispy skin.
Roasting the Chicken
Roasting a chicken is a deceptively simple process, but mastering the technique yields incredibly juicy and flavorful results. This section details the steps to achieve perfect roast chicken every time.
Preparation is key. Begin by preheating your oven to 425°F (220°C). This high initial temperature helps crisp the skin. Remove the chicken from the refrigerator at least 30 minutes before roasting to allow it to come to room temperature. This ensures even cooking.
Pat the chicken dry. Using paper towels, thoroughly pat the chicken’s skin dry. This is crucial for achieving crispy skin. Excess moisture will steam the skin instead of browning it.
Season generously. Season the chicken liberally with salt and freshly ground black pepper. Don’t be shy! About 1 teaspoon of salt and ½ teaspoon of pepper is a good starting point for a 3-4 pound chicken. You can also add other seasonings like herbs (rosemary, thyme, sage) or garlic powder for extra flavor. Rub the seasonings all over the skin and into the cavity.
Truss the chicken (optional but recommended). Trussing the chicken helps it cook evenly and keeps the legs from drying out. Use kitchen twine to tie the legs together and tuck the wings behind the back. If you don’t have twine, simply tie the legs together with a piece of string.
Roast the chicken. Place the chicken in a roasting pan. Add about 1 cup of water or chicken broth to the bottom of the pan to prevent burning and create moisture. Roast for 1 hour and 15 minutes to 1 hour and 30 minutes, or until a meat thermometer inserted into the thickest part of the thigh registers 165°F (74°C). Do not open the oven door frequently, as this will release heat and affect cooking time and browning.
Rest the chicken. Once cooked, remove the chicken from the oven and let it rest for at least 15 minutes before carving. This allows the juices to redistribute throughout the meat, resulting in a more tender and flavorful chicken. Resting is just as important as roasting!
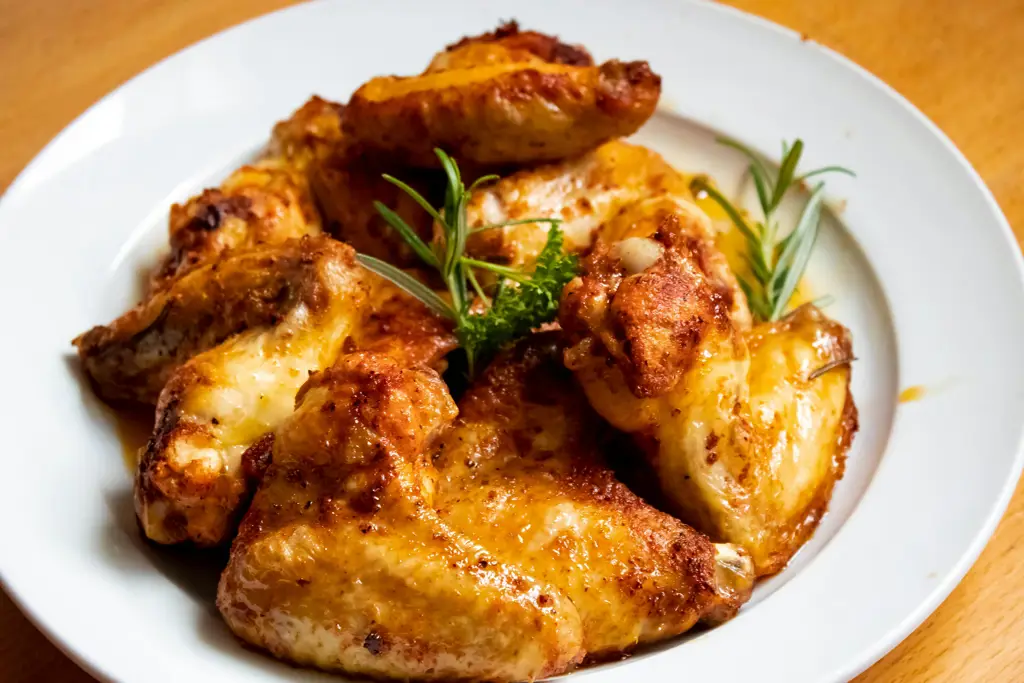
Carve and serve. After resting, carve the chicken and serve immediately. Enjoy your perfectly roasted chicken!
Tip: For extra crispy skin, you can increase the oven temperature to 450°F (232°C) for the last 15-20 minutes of cooking. Keep a close eye on it to prevent burning.
Checking for Doneness
Determining when your roast chicken is perfectly cooked is crucial for achieving juicy meat and safe consumption. Don’t rely solely on cooking time; use a combination of methods to ensure accuracy.
The Meat Thermometer: The Gold Standard. This is the most reliable method. Insert a meat thermometer into the thickest part of the thigh, avoiding the bone. The internal temperature should reach 165°F (74°C). This ensures the chicken is cooked throughout, eliminating the risk of harmful bacteria. Don’t rely on poking the meat; this method is unreliable and can lead to undercooked chicken.
The Leg Test: A Secondary Check. Once the thermometer registers close to 165°F (74°C), you can perform the leg test. Gently wiggle the leg. If it moves easily and feels loose in the socket, it’s likely done. However, this should always be used in conjunction with a meat thermometer, as it’s not a foolproof method on its own. A tight leg could indicate undercooked meat.
The Juice Test: A Visual Cue (Use with Caution). When you insert the thermometer, observe the juices that run out. Clear or slightly yellowish juices generally indicate doneness. However, this is the least reliable method and shouldn’t be used as your primary indicator. Pink juices are a clear sign of undercooked chicken and require further cooking.
Resting Time is Key. Once the chicken reaches 165°F (74°C), remove it from the oven and let it rest for at least 15-20 minutes, loosely tented with foil. This allows the juices to redistribute throughout the meat, resulting in a more tender and flavorful bird. Do not skip this step; it is essential for optimal results. During this resting period, the internal temperature will continue to rise slightly.
Important Note: Always prioritize food safety. Undercooked chicken can cause serious foodborne illnesses. If you are unsure about the doneness of your chicken, it’s always better to err on the side of caution and cook it for a few more minutes. Using a properly calibrated meat thermometer is the best way to ensure your roast chicken is both safe and delicious.
Recommendations
For the perfect roast chicken experience, consider these recommendations to enhance both the cooking process and the enjoyment of your meal. Start with a high-quality chicken; free-range or organic options often yield superior flavor and texture. Ensure the chicken is completely thawed before roasting for even cooking. Don’t overcrowd the roasting pan; allow ample space for air circulation. Using a meat thermometer is crucial for achieving perfectly cooked chicken. Aim for an internal temperature of 165°F (74°C) in the thickest part of the thigh to ensure safety and juiciness.
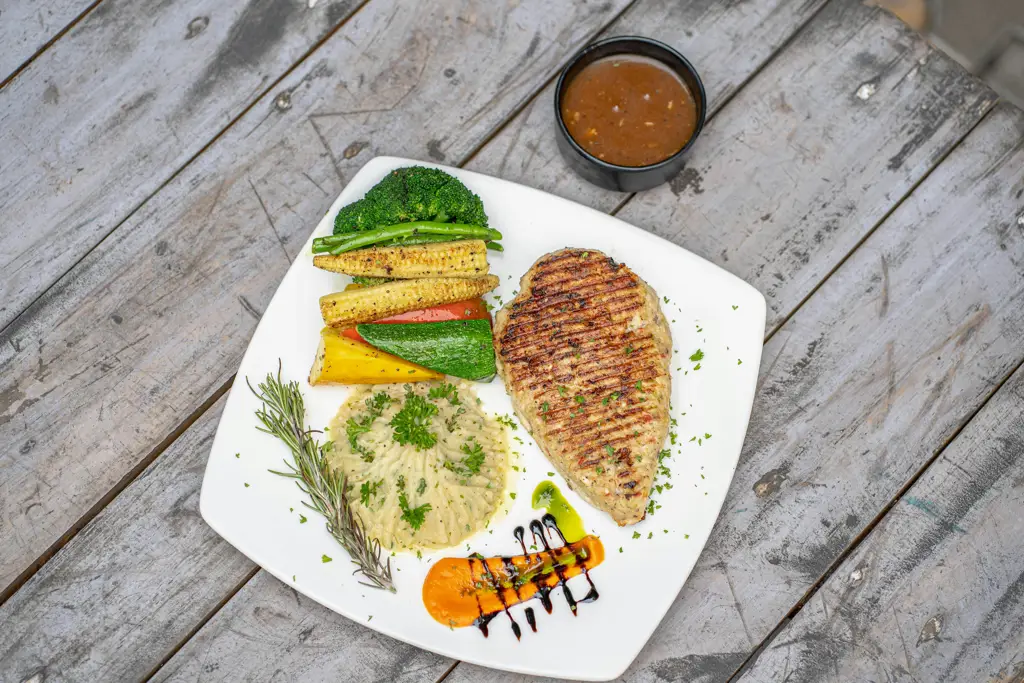
Serving suggestions abound! A classic pairing is roasted chicken with roasted root vegetables like potatoes, carrots, and parsnips. The natural sweetness of these vegetables complements the savory chicken beautifully. Consider adding herbs like rosemary and thyme to the roasting pan for an extra layer of flavor. Alternatively, a simple side salad with a light vinaigrette provides a refreshing counterpoint to the richness of the chicken. For a more elegant presentation, carve the chicken at the table and arrange it artfully on a platter with the accompanying sides.
Leftover roast chicken can be used in a variety of ways. Shred the meat and add it to soups, salads, or sandwiches. It also makes a delicious addition to pasta dishes or quesadillas. Proper storage is essential to maintain quality. Allow the chicken to cool completely before storing it in an airtight container in the refrigerator for up to 3-4 days. You can also freeze leftover chicken for up to 3 months. Remember to always reheat the chicken thoroughly before consuming.
Nutritional Information (per serving, approximate): Calorie count will vary depending on the size of the chicken and added ingredients, but a typical serving (approximately 3-4 ounces of breast meat) could contain around 150-200 calories, 25-35 grams of protein, and minimal carbohydrates. Fat content will be higher in dark meat. This information is an estimate and may vary.
Complementary Dishes: To round out your meal, consider serving a creamy gravy made from the chicken pan drippings, crusty bread for soaking up the gravy, and a refreshing beverage like a crisp white wine or iced tea. Experiment with different flavor combinations to discover your perfect roast chicken feast!