The meringue-based dessert known as pavlova is a culinary masterpiece, a delightful paradox of crisp exterior and marshmallowy interior. Its origins, however, are shrouded in some delicious debate. While both Australia and New Zealand claim its invention, with passionate national pride, the exact creator and date remain elusive. The most widely accepted theory points to its creation sometime around the 1920s or 1930s, coinciding with the visit of the famous ballerina Anna Pavlova to both countries. The name itself is a tribute to her graceful artistry, reflecting the dessert’s elegant appearance.
Despite the ongoing friendly rivalry over its birthplace, the pavlova’s popularity is undeniable. It’s a staple at barbecues, Christmas celebrations, and other special occasions across both Australia and New Zealand, and is increasingly popular in other parts of the world. In a 2018 survey, it was reported that over 75% of Australian households made or consumed a pavlova at least once a year. This statistic demonstrates its deep embedding within the national culinary identity. The dessert’s cultural significance transcends mere gustatory pleasure; it represents a shared heritage, a point of national pride, and a symbol of celebratory gatherings.
Beyond its national significance, the pavlova’s appeal lies in its versatility. The basic recipe, a delicate balance of egg whites, sugar, and vinegar, offers an endless canvas for creative expression. The crisp shell provides a striking contrast to the soft, fluffy interior, often topped with whipped cream and an array of fresh fruits, from berries and kiwi to passionfruit and mango. This adaptability allows for countless variations, making it a beloved dessert for both novice and experienced bakers alike. The key to a perfect pavlova lies in the technique, specifically the careful whipping of the egg whites to achieve the right consistency, and the precise baking temperature to ensure a perfectly crisp shell without compromising the soft interior. This guide will walk you through the process step-by-step, enabling you to create your own masterpiece.
Ingredients and Measurements
Creating the perfect Pavlova hinges on precise measurements and the quality of your ingredients. Using fresh, high-quality ingredients will significantly impact the final texture and taste. Don’t be tempted to substitute ingredients, as this could affect the meringue’s stability and overall success.
For this recipe, we’ll be making a Pavlova that serves 6-8 people. Adjust quantities proportionally if you need a larger or smaller dessert. Here’s a detailed breakdown of the ingredients and their measurements:
Egg Whites: 4 large egg whites, at room temperature. This is crucial. Room temperature egg whites whip up to a much larger volume and create a more stable meringue. If your eggs are cold, let them sit at room temperature for at least 30 minutes before you begin.
Granulated Sugar: 1 cup (200g) of superfine granulated sugar. Using superfine sugar is recommended as it dissolves more easily into the egg whites, creating a smoother, glossier meringue. If you only have coarse granulated sugar, you can pulse it briefly in a food processor to make it finer.
Cornstarch: 1 tablespoon (10g) of cornstarch. This helps to stabilize the meringue and prevent it from cracking during baking. Ensure you use cornstarch and not cornflour, as they have different properties.
White Vinegar: 1 teaspoon (5ml) of white vinegar. The acidity in the vinegar helps to stabilize the egg whites and adds a subtle brightness to the meringue. Do not substitute with other types of vinegar, as they may impart unwanted flavors.
Vanilla Extract: 1 teaspoon (5ml) of pure vanilla extract. This adds a delightful flavor to the meringue. Use a high-quality vanilla extract for the best results. Avoid using imitation vanilla, as its flavor profile is significantly different.
For the Topping: The topping is entirely up to your preference! We suggest using about 1 cup of whipped cream and your favorite fruits, such as fresh berries, kiwi, passionfruit, or mango. You can also add a dusting of powdered sugar for extra sweetness.
Important Note: Weighing your ingredients using a kitchen scale is highly recommended for the most accurate results, particularly for the sugar. Volume measurements can vary depending on the type of measuring cup and how tightly the ingredients are packed.
Equipment Checklist
Creating the perfect Pavlova requires not only precise ingredients but also the right equipment. Having everything prepared beforehand will streamline the process and contribute to a flawless meringue. This checklist details the essential tools, along with some optional but helpful additions.
Mixing Bowls: You’ll need at least two mixing bowls. One large bowl (approximately 8-10 quart capacity) is crucial for whipping the egg whites, ensuring ample space for volume increase. A smaller bowl (approximately 4-quart capacity) is ideal for preparing the sugar mixture.
Electric Mixer: A stand mixer with a whisk attachment is highly recommended. A stand mixer provides consistent and even whipping, crucial for achieving stiff, glossy peaks. If a stand mixer isn’t available, a hand-held electric mixer with strong whisk attachments will suffice, but it will require more manual effort and attention.
Measuring Cups and Spoons: Precise measuring is paramount in baking. Invest in a set of accurate measuring cups and spoons. You’ll need these for the egg whites, sugar, cornstarch, and vinegar. Using a kitchen scale for weighing ingredients is even more precise and recommended for professional results.
Rubber Spatula or Silicone Scraper: This is essential for scraping down the sides of the bowl during whipping, ensuring all the egg whites are incorporated and preventing lumps. A high-quality spatula or scraper will make a significant difference in the final texture.
Baking Sheet: Choose a baking sheet that’s large enough to accommodate your Pavlova. A standard 12×18 inch baking sheet is suitable for a medium-sized Pavlova. Line it with parchment paper for easy removal and to prevent sticking. Ensure the parchment paper is securely placed on the baking sheet to prevent movement during baking.
Parchment Paper: Use a good quality parchment paper. Avoid using waxed paper, which can affect the meringue’s texture. Cut the parchment paper slightly larger than your desired Pavlova diameter to allow for easier handling and to prevent the meringue from spreading excessively.
Optional Equipment: A piping bag with a large round tip can create a more uniform and aesthetically pleasing Pavlova. A pastry brush can be used to carefully remove any stray sugar crystals from the meringue before baking. A kitchen thermometer can help monitor the oven temperature for accurate and consistent baking.
Cleaning Supplies: Don’t forget to have your cleaning supplies ready! Egg whites are notorious for sticking. Having a bowl of warm, soapy water and cloths ready will make clean up much easier.
By ensuring you have all the necessary equipment, you’ll set yourself up for success in creating a perfectly crisp and creamy Pavlova.
Meringue Preparation
Creating the perfect meringue is the cornerstone of a stunning pavlova. This stage requires precision and attention to detail, so follow these steps carefully.
Begin by ensuring your equipment is spotless. Any trace of fat, including grease or yolk residue, will prevent the egg whites from whipping properly. Use a clean, dry bowl and whisk. A stand mixer with a whisk attachment is ideal for this process, but a hand mixer will also work, albeit with more effort.
Separate 4 large egg whites into the clean bowl. Make sure absolutely no yolk contaminates the whites; even a tiny speck can inhibit whipping. It’s best to separate the eggs over a separate bowl, catching any stray yolk that might fall. Once separated, set aside the egg yolks for another recipe (they’re great in custard!).
Add 240g (1 ½ cups) of caster sugar to the egg whites. Do not add the sugar all at once. Begin whipping the egg whites on a low speed until they become frothy. Gradually increase the speed to medium-high as the whites start to thicken. Once soft peaks form, begin adding the sugar, one tablespoon at a time, ensuring each addition is fully incorporated before adding the next. This gradual addition helps the sugar dissolve completely, creating a stable meringue.
Continue whipping on high speed until stiff, glossy peaks form. The meringue should be thick and hold its shape when you lift the whisk. This usually takes around 8-10 minutes with a stand mixer, or longer with a hand mixer. The meringue should be almost white, not yellow. A yellow meringue indicates under-whipped egg whites.
Once the meringue reaches stiff peaks, carefully fold in 1 teaspoon of white wine vinegar and 1 teaspoon of cornstarch. This helps stabilize the meringue and prevent it from weeping. Fold gently using a spatula, ensuring you don’t deflate the meringue. Only a few folds are necessary to incorporate the ingredients evenly. Avoid over-mixing.
Your meringue is now ready to be piped onto a baking sheet. Remember to preheat your oven to 150°C (300°F) for a slow bake that helps create a crisp exterior and a marshmallowy interior. Proceed to the next section for baking instructions.
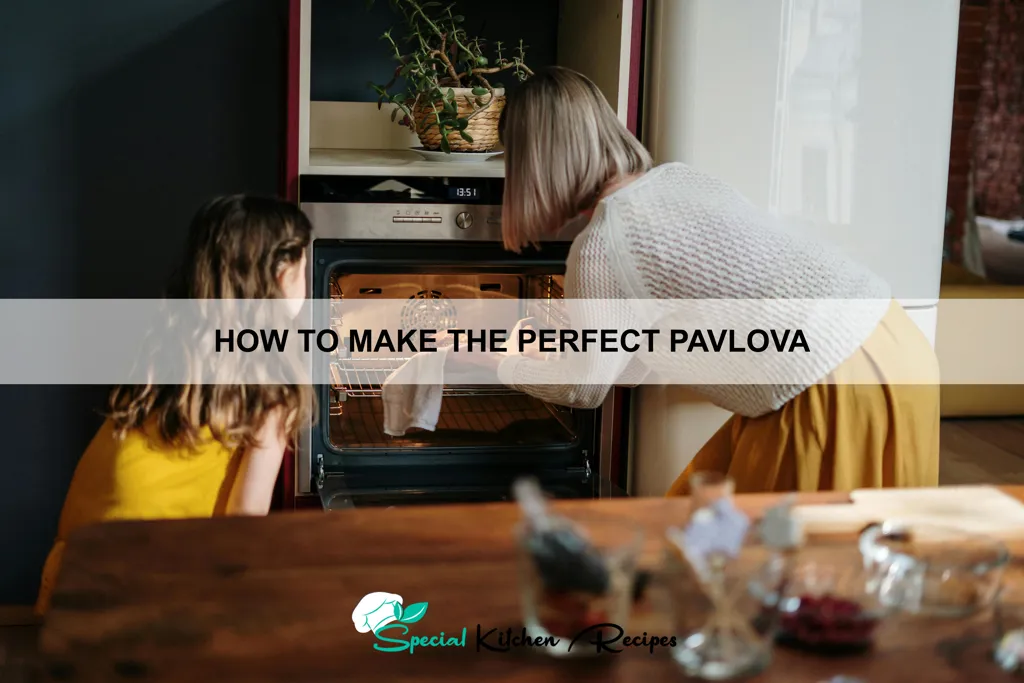
Baking Process & Oven Temperature Control
The baking process for a perfect Pavlova is crucial and requires careful attention to detail. The goal is to achieve a crisp meringue shell with a soft, marshmallowy interior. This delicate balance hinges on precise oven temperature control and a gradual cooling process.
Begin by preheating your oven to 250°F (120°C). This lower temperature is key to preventing the meringue from browning too quickly or cracking. Do not open the oven door during the first hour of baking. Opening the door will cause a sudden temperature drop and potentially lead to the meringue collapsing. Place the Pavlova on the middle rack of your oven for even heat distribution.
Bake for one hour at 250°F (120°C). After the initial hour, reduce the oven temperature to 200°F (95°C) and continue baking for another 30-45 minutes. The baking time will depend on the size of your Pavlova and your oven. A larger Pavlova will require a longer baking time. A smaller one may need less.
To check for doneness, gently press the center of the Pavlova. It should feel slightly yielding, but mostly firm. Avoid pressing too hard, as this could cause the meringue to crack. If the center still feels too soft, continue baking in 5-minute intervals until it reaches the desired consistency. Over-baking will result in a dry, brittle meringue.
Once baked, turn off the oven and leave the Pavlova inside with the door slightly ajar for at least 2 hours, or preferably overnight. This slow cooling process allows the meringue to dry out completely and develop its characteristic crisp shell. Rushing this process can lead to a soggy Pavlova.
Oven calibration is important. Oven temperatures can vary, so using an oven thermometer is highly recommended to ensure accuracy. Adjust your baking time accordingly if your oven runs hotter or colder than the indicated temperature. Remember, patience is key to achieving a perfect Pavlova. Take your time and observe your meringue closely throughout the baking and cooling process.
Finally, once completely cool, carefully remove the Pavlova from the oven and transfer it to a serving plate. Now you’re ready to top it with your favorite whipped cream and fresh fruit!
Cooling and Storage
The cooling and storage of your pavlova is crucial to its success. Improper handling can lead to a soggy base or a collapsed meringue. Patience is key during this stage.
Once your pavlova is baked and beautifully golden brown, resist the urge to immediately remove it from the oven. Allow it to cool completely inside the oven with the door slightly ajar. This gradual cooling prevents drastic temperature changes that can cause cracking. This process should take at least 1-2 hours, depending on your oven and the size of your pavlova. Do not open the oven door frequently during this time.
After the cooling period in the oven, carefully transfer the pavlova to a wire rack to cool completely. This prevents moisture from accumulating underneath and softening the base. Let it cool completely at room temperature for another 2-3 hours, or even longer, depending on the size and thickness. A completely cooled pavlova is essential before adding any topping.
Once completely cool, you can carefully transfer the pavlova to an airtight container. Do not refrigerate the pavlova immediately after baking. Refrigeration introduces moisture which can make the meringue soggy. Instead, store it at room temperature for up to 2 days in an airtight container. If you need to store it longer, you can refrigerate it, but it’s best to add the whipped cream and fruit topping just before serving to ensure the best texture and prevent the meringue from becoming soft.
If refrigerating, remove the pavlova from the refrigerator at least 30 minutes before serving. This allows it to come to room temperature and regain some of its crispness. Avoid storing the pavlova in a humid environment as this can also lead to sogginess. A cool, dry place is ideal for room temperature storage.
For optimal freshness and texture, it’s always best to make the pavlova on the day you plan to serve it. However, following these storage guidelines will help ensure your pavlova remains enjoyable for a couple of days after baking.
In summary: Oven cooling (1-2 hours), wire rack cooling (2-3 hours), room temperature storage (up to 2 days), refrigeration only if necessary (remove 30 minutes before serving).
Whipped Cream and Topping Preparation
The whipped cream topping is crucial to a perfect Pavlova; it provides a delightful contrast to the crisp meringue shell and adds a luscious richness. For optimal results, use heavy whipping cream with a minimum fat content of 35%. Lighter creams simply won’t whip to the same volume and stability.
Chill your cream: This is a critical step often overlooked. Extremely cold cream whips up to a much firmer and more stable consistency. Chill your cream in the refrigerator for at least 30 minutes before whipping. Even chilling the bowl and whisk will help.
For a classic Pavlova, you’ll need approximately 2 cups (475ml) of heavy whipping cream. Begin by pouring the chilled cream into a large, chilled bowl. Using a stand mixer or a hand mixer fitted with whisk attachments, start whipping on a low speed. Gradually increase the speed to medium-high as the cream begins to thicken.
Avoid over-whipping: Over-whipping will result in a grainy, buttery texture. You want soft peaks to form initially. Once you achieve soft peaks, gradually add your sweetener. I recommend using 1/4 cup (50g) of powdered sugar and 1 teaspoon of vanilla extract. Continue whipping until stiff peaks form but stop before the cream becomes overly stiff and starts to separate.
Adding Flavor: Feel free to experiment with different flavorings. A teaspoon of lemon zest adds a refreshing tang, while a tablespoon of instant coffee granules creates a mocha-flavored whipped cream. Remember to add any flavorings after the cream has reached soft peaks but before adding the powdered sugar. This ensures even distribution of flavor.
Once the whipped cream is ready, gently fold it into the prepared Pavlova. Avoid vigorously mixing, as this can deflate the meringue. Use a spatula or large spoon and make slow, sweeping motions to distribute the cream evenly across the meringue base. Top with your desired fresh fruit, and it’s ready to serve!
Important Note: Prepare the whipped cream just before serving to maintain its peak volume and prevent it from becoming watery. If you must prepare it ahead of time, keep it chilled and serve as soon as possible.
Recommendations
For the perfect Pavlova, achieving a crisp meringue shell is paramount. Ensure your egg whites are at room temperature for optimal volume and stability. Avoid any fat, even a trace of yolk, as this will prevent the meringue from whipping properly. Use a clean, grease-free bowl and whisk.
Once baked, allow the Pavlova to cool completely in the oven with the door slightly ajar. This slow cooling process helps create that signature crisp exterior. Never rush the cooling process, as a sudden temperature change might crack the meringue.
Storage is key to maintaining the Pavlova’s crispness. Store leftover Pavlova in an airtight container at room temperature for up to 2 days. However, for optimal texture, it’s best enjoyed fresh on the day it’s made. Refrigeration can make the meringue slightly soft.
Serving suggestions are endless! A classic pairing is whipped cream and fresh berries. Consider using a variety of berries like raspberries, strawberries, and blueberries for visual appeal and contrasting flavors. Passionfruit pulp adds a tangy twist, while kiwi provides a refreshing contrast. A light dusting of icing sugar before serving adds a touch of elegance.
Pavlova pairs beautifully with other desserts. A light and refreshing fruit salad complements the sweetness of the meringue. For a more substantial meal, serve it alongside a light lemon curd or a simple vanilla custard. A scoop of vanilla bean ice cream adds a luxurious touch.
Nutritional Information (per serving, approximate, varies based on ingredients): Calories: 300-400; Fat: 10-15g; Saturated Fat: 5-8g; Carbohydrates: 50-60g; Sugar: 40-50g; Protein: 5-7g. Note: This is an estimate and can vary greatly depending on the specific ingredients and portion size used.
Important Note: Always check your ingredients for allergens before consumption. This recipe may contain common allergens like eggs, dairy (if using cream), and nuts (if using nut-based toppings).