Sushi, a culinary masterpiece that has captivated palates worldwide, boasts a rich history far beyond its modern-day popularity. Originating in Southeast Asia centuries ago, fermented rice was initially the star, a method of preserving fish that predates refrigeration. This early form, known as nare-zushi, was a pungent and long-fermented dish, a far cry from the delicate rolls we enjoy today. The process involved burying fish in rice, allowing natural lactic acid bacteria to ferment the rice and preserve the fish. Over time, the process evolved in Japan, leading to the development of what we now recognize as sushi.
The transition from nare-zushi to the fresh, vinegared rice sushi we know today happened gradually, with the Edo period (1603-1868) marking a significant turning point. During this era, haya-zushi, or quick-fermented sushi, emerged, substantially reducing fermentation time. The focus shifted from the fermented rice preserving the fish to the rice becoming a crucial component of the dish itself. This evolution, influenced by the increasing availability of fresh seafood and refined culinary techniques, paved the way for the diverse array of sushi we see today. By the 20th century, sushi had become a national dish in Japan, and its global popularity exploded, transforming it into a multi-billion dollar industry.
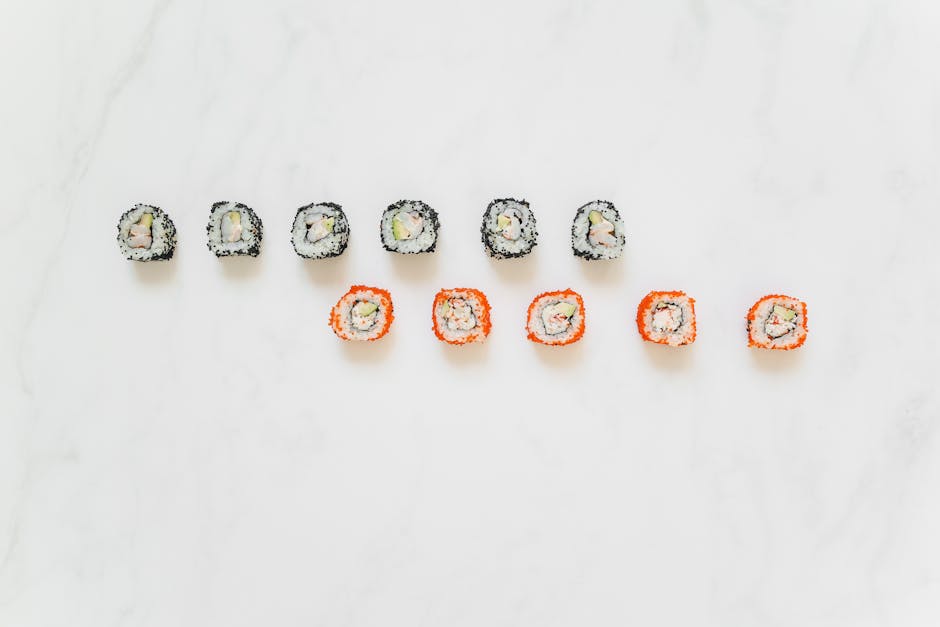
Today, sushi’s cultural significance extends far beyond its deliciousness. It’s a symbol of Japanese cuisine and culture, representing precision, artistry, and a deep respect for ingredients. Globally, sushi is more than just food; it’s often associated with sophistication, health, and a modern culinary experience. The global sushi market is estimated to be worth billions of dollars annually, with countless restaurants and sushi bars worldwide catering to a growing demand. Interestingly, while the traditional methods remain highly valued, countless variations have emerged, reflecting the adaptability and creativity of global cuisine. This guide will walk you through creating some of these delicious variations, showing you how to make your own sushi rolls at home.
Ingredients and Measurements
Making sushi at home requires fresh, high-quality ingredients. The success of your rolls hinges on using the right proportions and paying attention to detail. Below is a list of ingredients and measurements for making approximately 6-8 sushi rolls, enough for 2-3 people.
Sushi Rice: You’ll need 2 cups of short-grain Japanese sushi rice. Short-grain rice is crucial because of its stickiness, which is essential for holding the roll together. Avoid using long-grain rice, as it will be too dry and crumbly.
Rice Vinegar: 1/4 cup of rice vinegar is needed for seasoning the rice. Using seasoned rice vinegar is recommended, as it already contains sugar and salt, simplifying the seasoning process. If using unseasoned rice vinegar, you will need to add 2 tablespoons of sugar and 1 teaspoon of salt.
Water: Approximately 2 1/4 cups of water are needed for cooking the rice. The exact amount may vary slightly depending on your rice and cooking method; always refer to the instructions on your rice package. Use filtered or purified water for the best results, as tap water can affect the taste and texture of the rice.
Nori Seaweed Sheets: You will need 3-4 sheets of dried nori seaweed. These are the sheets that form the base of your sushi rolls. Ensure the nori is fresh and crisp; avoid using stale or damaged sheets.
Sushi Filling (Choose your favorites!): The possibilities are endless! Here’s a suggestion for a classic California roll: 1 avocado (sliced), 1/2 cup imitation crab meat (surimi), 1/2 cup cucumber (thinly sliced), 1/4 cup mayonnaise.
Optional additions: Consider adding other fillings such as cooked shrimp, smoked salmon, thinly sliced cooked carrots, or pickled ginger (gari). Remember to adjust the quantity of fillings according to your preference and the size of your sushi rolls.
Wasabi: A small amount of wasabi paste is needed for serving. Start with a tiny amount as wasabi is very strong; you can always add more. Alternatively, you can use wasabi powder mixed with a little water.
Soy Sauce: A small bowl of soy sauce for dipping. Use high-quality soy sauce for a richer flavor.
Pickled Ginger (Gari): A small portion of pickled ginger serves as a palate cleanser between bites. This is optional but highly recommended for a complete sushi experience.
Rice Preparation (including rinsing and cooking)
Sushi rice, also known as short-grain Japanese rice, is crucial for achieving the perfect texture and stickiness in your sushi rolls. The key to success lies in proper rinsing and cooking. We’ll be using 2 cups of sushi rice for this recipe, which will yield enough rice for approximately 4-6 sushi rolls, depending on their size.
Rinsing the Rice: Begin by rinsing the rice thoroughly under cold running water. This removes excess starch and impurities, which can affect the rice’s texture and prevent it from sticking together properly. Place the rice in a fine-mesh sieve and gently swirl it under the water until the water runs clear. This typically takes 5-7 minutes. Don’t be afraid to vigorously agitate the rice – it’s important to remove as much starch as possible.
Cooking the Rice: Once rinsed, combine the rice with 2 ¼ cups of water in a medium saucepan with a heavy bottom. The ratio of water to rice is crucial for achieving the ideal consistency. Using too little water will result in dry, crumbly rice, unsuitable for sushi. Using too much will lead to mushy rice.
Bring the mixture to a rolling boil over high heat, uncovered. Once boiling, immediately reduce the heat to the lowest setting, cover the pot tightly with a lid, and simmer for 15 minutes. Do not lift the lid during this time. This allows the steam to cook the rice evenly.
After 15 minutes, remove the pot from the heat and let it stand, covered, for another 10 minutes. This allows the rice to finish steaming and absorb any remaining moisture. This resting period is essential for achieving that perfect, slightly sticky texture.
Seasoning the Rice: Once the resting period is complete, gently fluff the rice with a rice paddle or a wooden spoon. Avoid using a metal utensil as this can damage the rice grains. In a separate bowl, combine 1/4 cup of rice vinegar, 2 tablespoons of sugar, and 1 tablespoon of salt. Gently heat this mixture in a small saucepan over low heat until the sugar and salt are completely dissolved. Do not boil.
Pour the seasoned rice vinegar mixture over the cooked rice and gently fold it in with the rice paddle, ensuring even distribution. Be careful not to overmix, as this can break the rice grains. Let the rice cool completely to room temperature before using it to make your sushi rolls. This will prevent the seaweed from becoming soggy.
Professional Tip: For the most authentic sushi rice flavor, use a sushi rice cooker. These cookers precisely control the temperature and steaming process, ensuring perfectly cooked rice every time.
Sushi Rice Seasoning
Seasoning your sushi rice correctly is crucial for achieving the perfect sushi experience. It’s the foundation upon which the entire dish is built, and improper seasoning can result in a bland or overly salty roll. This section will guide you through the process of perfectly seasoning your sushi rice.
The key to excellent sushi rice is using the right ratio of rice vinegar, sugar, and salt. Many recipes call for varying measurements, but a reliable and widely-used ratio is 2 tablespoons of rice vinegar, 2 tablespoons of sugar, and 1 teaspoon of salt for every 2 cups of cooked sushi rice. Adjust these measurements proportionally if you’re making a larger or smaller batch.
Begin by preparing your sushi rice according to package instructions. Use Japanese short-grain rice specifically designed for sushi; other types of rice will not hold their shape and texture properly. Once the rice is cooked and fluffy, gently transfer it to a large, shallow, wooden bowl (wooden bowls help prevent sticking and retain heat). Allow the rice to cool slightly; it should be warm but not hot to the touch.
In a small saucepan, combine the rice vinegar, sugar, and salt. Place the saucepan over low heat and stir constantly until the sugar and salt are completely dissolved. This is important to prevent crystallization and ensure even seasoning. Do not boil the mixture.
Once the seasoning mixture is smooth and clear, gradually pour it over the warm rice. Use a rice paddle or a wooden spatula to gently fold the seasoning into the rice, ensuring that every grain is coated. Be careful not to mash the rice; maintain its individual grain structure. A gentle folding motion is key; vigorous stirring will break the rice grains.
Taste the rice as you season it. This allows you to adjust the sweetness or saltiness according to your preference. Some prefer a slightly sweeter or saltier rice, so feel free to experiment within reason. Once the rice is evenly seasoned, fan it gently with a hand fan or a clean kitchen towel to cool it further and prevent it from becoming sticky.
Properly seasoned sushi rice should be slightly tangy, subtly sweet, and have a delicate salty undertone. It should never be overly sweet or salty, and the vinegar shouldn’t overpower the other flavors. With practice, you’ll become adept at achieving the perfect balance.
Once the rice is seasoned and cooled, it is ready to be used in your sushi rolls. Remember to work quickly once you’ve seasoned your rice, as it tends to dry out and become less pliable with time.
Preparing the Filling Ingredients (Veggies, Fish, etc.)
The success of your sushi rolls hinges significantly on the preparation of your filling ingredients. Properly prepping your veggies and fish ensures optimal texture and flavor in your final creation. We’ll cover common fillings, but feel free to experiment with your favorites!
Vegetables: Start by selecting fresh, high-quality vegetables. For a classic California roll, you’ll need approximately 1 cup of finely shredded carrots, ½ cup thinly sliced avocado (about 1 medium avocado), and ½ cup of thinly sliced cucumber (about ½ a medium cucumber). Thoroughly wash and dry all vegetables before preparing them. Using a mandoline slicer or a very sharp knife, create consistent, thin slices or shreds to prevent your rolls from becoming too bulky or difficult to roll.
Avocado: To prevent browning, immediately squeeze a little lime juice (about ½ a lime) over the sliced avocado after preparing it. This helps maintain its vibrant green color and fresh taste. Avoid using overly ripe avocados, as they can become mushy and affect the roll’s structural integrity.
Cucumber: Remove the seeds from the cucumber before slicing to reduce excess moisture. This will prevent your sushi rice from becoming soggy. Thinly sliced cucumber is preferable; thicker slices can make rolling challenging.
Fish (optional): If you’re incorporating raw fish (like salmon or tuna), ensure it’s sushi-grade, meaning it’s been frozen to kill any potential parasites. Purchase from a reputable fishmonger. For a typical roll, you’ll need approximately 4-6 ounces of your chosen fish, cut into thin, even strips (approximately ¼ inch thick). The fish should be very fresh; any off-putting smell or discoloration should be a warning sign. Pat the fish dry with a paper towel before adding it to your roll.
Other Fillings: Consider adding other ingredients like cooked shrimp (about 4-6 large shrimp, peeled and deveined), crab stick (surimi, about ½ cup, shredded), or pickled ginger (gari) for a zingy kick. Remember to prepare all fillings in advance and keep them chilled until you’re ready to assemble your rolls. This prevents unwanted bacterial growth and helps maintain freshness.
Important Note: Always maintain proper hygiene when handling food. Wash your hands thoroughly and use clean cutting boards and utensils to prevent cross-contamination.
Making the Sushi Rice (Vinegar, Sugar, Salt Mixture)
The success of your sushi rolls hinges significantly on perfectly seasoned sushi rice. This involves creating a delicate balance of sweet, sour, and salty flavors in the rice vinegar mixture. Get this right, and your sushi will be exceptional.
For this recipe, we’ll be making enough seasoning for approximately 4 cups of cooked sushi rice. You can easily scale this up or down depending on your needs. Always use sushi rice; other types of rice won’t have the necessary stickiness.
Ingredients:
- 1/4 cup rice vinegar (preferably seasoned, but unseasoned works too)
- 2 tablespoons granulated sugar
- 1 tablespoon salt
Instructions:
First, combine the rice vinegar, sugar, and salt in a small saucepan. It’s crucial to use a saucepan that’s non-reactive, like stainless steel or glass, to avoid any unwanted metallic tastes. Place the saucepan over medium-low heat.
Gently heat the mixture, stirring constantly with a wooden spoon or spatula. Do not boil the mixture. The goal is to dissolve the sugar and salt completely. The mixture should be warm and homogenous, not bubbling vigorously. This usually takes about 2-3 minutes.
Once the sugar and salt have fully dissolved, remove the saucepan from the heat and let the mixture cool completely. Cooling is essential; adding the hot mixture to the rice will make it mushy. You can speed up the cooling process by placing the saucepan in an ice bath for a few minutes.
Once the mixture is completely cool, gently pour it over your freshly cooked sushi rice. Use a rice paddle or spatula to gently fold the mixture into the rice, being careful not to mash the grains. Fold the rice several times, ensuring every grain is evenly coated. This is important for both flavor and texture.
Professional Tip: For a more nuanced flavor profile, consider adding a pinch of mirin (sweet rice wine) to the vinegar mixture. A teaspoon will suffice. Adjust the amount of sugar and salt to your taste preferences. Some prefer a sweeter or saltier seasoning.
After seasoning, spread the rice evenly on a plate or tray to cool further, helping it to firm up slightly before you begin assembling your sushi rolls. This prevents the rice from becoming overly sticky and difficult to handle.
Preparing the Nori Seaweed Sheets
Nori sheets are the foundation of your sushi roll, providing both flavor and structure. Properly preparing them is crucial for achieving perfectly rolled, delicious sushi. You’ll need a standard package of nori seaweed sheets; typically, these contain 10 sheets, but check your package for the exact number. For this recipe, we’ll assume you’re using a standard 7.87 inches x 3.94 inches sheet.
Avoid touching the nori sheets directly with your bare hands. The oils from your skin can transfer onto the nori, making it difficult for the rice to adhere properly. Instead, always use clean, dry chopsticks or tongs to handle the sheets.
Store your nori sheets properly. Unopened packages should be kept in a cool, dry place, away from direct sunlight and strong odors. Once opened, place the unused sheets back in the packaging and seal it tightly with a clip or rubber band. Proper storage prevents the nori from becoming brittle or losing its flavor and crispness.
Before you begin rolling, it’s essential to inspect each sheet. Discard any sheets that show signs of damage or discoloration. Look for sheets that are uniform in color and texture; they should be a deep, rich green-black. Uneven color or texture can indicate poor quality or spoilage.
Sometimes, the nori sheets might be slightly curled. To flatten them, carefully lay the sheet on a clean, flat surface. You can gently press down on the sheet with your palm (through a clean cloth or using chopsticks), but avoid applying too much pressure, as this could tear the delicate nori. You can also let the sheet sit for a few minutes to relax and flatten naturally in a slightly humid environment.
Important consideration: The rough side of the nori sheet (the slightly matte side) is the side that should face down on the bamboo rolling mat. The shiny side is generally smoother and better suited for the rice to adhere to. However, some recipes might instruct you to use the shiny side down; always refer to your recipe’s specific instructions.
Once you’ve selected your nori sheet and ensured it’s flat and ready, you’re ready to begin assembling your sushi roll! Remember to work quickly and efficiently once you start placing the rice and fillings to prevent the nori from drying out.
Recommendations
For optimal enjoyment, serve your homemade sushi rolls immediately after preparation. The rice will stay at its best texture and the ingredients will be freshest. Avoid letting the rolls sit out at room temperature for extended periods, especially in warm weather, to prevent bacterial growth.
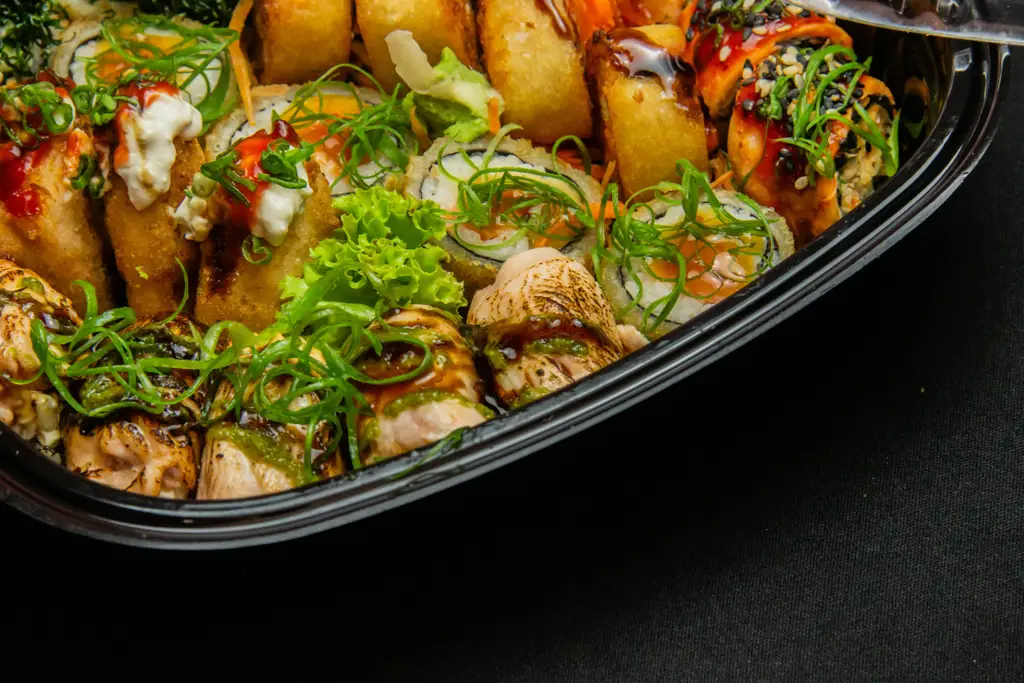
To enhance the dining experience, consider serving your sushi rolls with a variety of dipping sauces. Soy sauce, wasabi, and pickled ginger (gari) are classic choices. You can also experiment with sriracha mayo, sweet chili sauce, or ponzu sauce for a unique flavor profile. Garnishing with sesame seeds or finely chopped scallions adds a nice visual and textural element.
For a complete meal, complement your sushi rolls with a light and refreshing miso soup or a simple side salad. Edamame, seaweed salad, or pickled vegetables are all excellent choices that add nutritional value and balance to the meal. Avoid heavy or rich side dishes, as they may overpower the delicate flavors of the sushi.
Storage: Leftover sushi rolls should be stored in an airtight container in the refrigerator. Consume them within 24 hours for optimal quality and safety. To prevent the rice from drying out, you can wrap the container tightly with plastic wrap before placing it in the refrigerator.
Nutritional Information (per average roll, approximate values vary depending on ingredients): Calorie count can range from 150-300 calories per roll. Nutritional content will vary drastically based on the filling. Generally, sushi rolls are a good source of carbohydrates from the rice and protein from the fish or vegetables. They also provide some healthy fats, vitamins, and minerals depending on the ingredients used. Always check the nutritional information of individual ingredients for a more accurate assessment.
Note: This nutritional information is an estimate and may vary depending on the specific ingredients and quantities used. For precise nutritional values, consult a nutrition calculator and input your specific recipe details.