The humble roast chicken: a dish so ubiquitous, it’s easy to overlook its rich history and enduring cultural significance. While pinpointing the exact origin is impossible, evidence suggests roasted fowl has been a staple in human diets for millennia. Archaeological discoveries indicate that our ancestors were roasting birds as far back as the Neolithic period, with evidence found across various ancient civilizations. The simplicity of the method – essentially applying dry heat to a protein source – made it accessible across cultures and climates, contributing to its global prevalence.
The roast chicken’s journey through time is fascinating. From ancient feasts to modern dinner tables, it has consistently held a place of honor. In many cultures, it represents celebration and abundance. In the United States, for instance, roast chicken remains a beloved Sunday dinner classic, often associated with family gatherings and comforting traditions. Interestingly, the global poultry market is enormous, with annual production exceeding 100 billion birds, a testament to the enduring popularity of chicken as a protein source. This astounding figure underscores the chicken’s versatility and adaptability across diverse culinary landscapes.
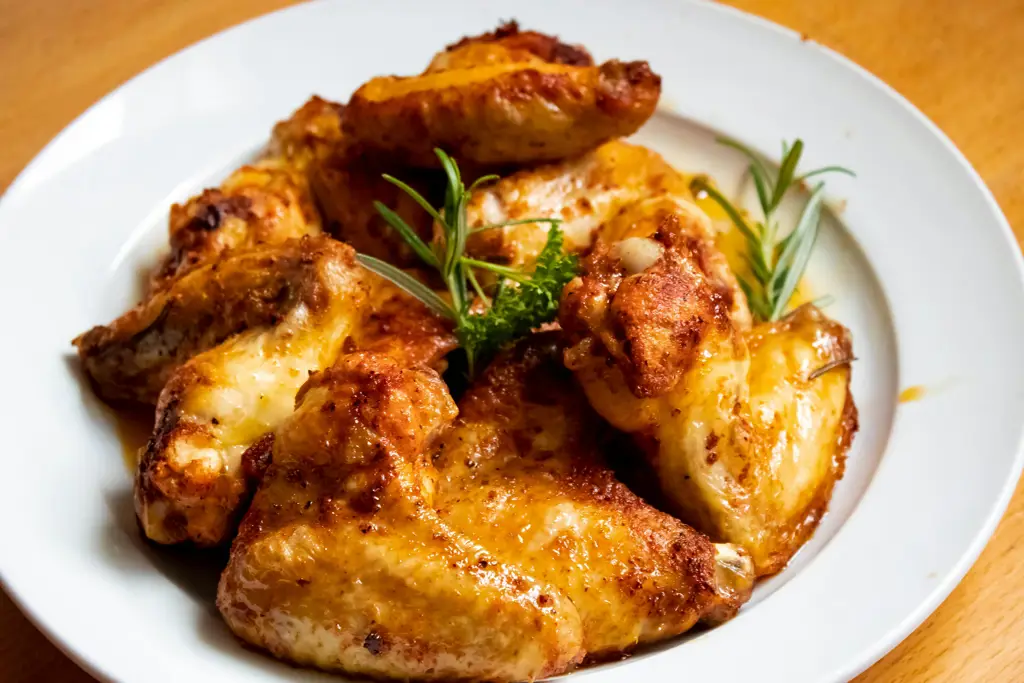
Beyond its sheer popularity, the roast chicken offers a unique blend of simplicity and sophistication. A perfectly roasted chicken boasts crispy skin, succulent meat, and a deeply flavorful aroma that can fill a home with warmth and comfort. This seemingly simple dish allows for incredible creativity; the variations in herbs, spices, and cooking techniques are virtually limitless. From classic herb roasts to more adventurous flavor profiles, the possibilities are as diverse as the cultures that have embraced this culinary cornerstone. This guide will equip you with the knowledge and techniques to achieve that perfect roast chicken, unlocking the secrets to crispy skin and juicy meat, regardless of your experience level.
Ingredients and Measurements
The success of a perfectly roasted chicken hinges on using high-quality ingredients and precise measurements. Don’t skimp on the details – it’ll make all the difference in the final outcome. This recipe uses a standard 4-5 pound whole chicken, but you can adjust quantities proportionally for larger or smaller birds.
1 Whole Chicken (4-5 lbs): Choose a chicken with plump, firm breast meat and bright yellow skin. Avoid chickens with any discoloration or unpleasant odors. Organic or free-range chickens often yield a more flavorful result.
1 Tablespoon Olive Oil: Use a good quality extra virgin olive oil for the best flavor. Avoid using overly strong flavored oils that might compete with the chicken’s natural taste. You can substitute with unsalted butter, melted, for a richer flavor.
1 Teaspoon Salt: Kosher salt is preferred for its larger crystals, which allow for even seasoning and prevent over-salting. Don’t be afraid to use a generous amount – it’s crucial for seasoning the chicken both inside and out. Sea salt can be substituted, but use slightly less (about ¾ teaspoon).
½ Teaspoon Black Pepper: Freshly ground black pepper provides a superior aroma and flavor compared to pre-ground. Grind it just before using to retain its potency. You can experiment with other spices, such as paprika, garlic powder, or onion powder, but start with small amounts to avoid overpowering the chicken’s flavor.
1 Lemon (optional): A halved lemon placed inside the cavity of the chicken adds a bright, citrusy note. Remove any seeds to prevent bitterness. You can also use other aromatics like herbs (rosemary, thyme) or garlic cloves inside the cavity.
1 Large Onion, quartered (optional): Adding quartered onions to the bottom of the roasting pan helps create moisture and adds depth of flavor to the pan juices. Consider adding other root vegetables like carrots or potatoes for added flavor and a complete meal.
Fresh Herbs (optional): Fresh sprigs of rosemary, thyme, or sage, placed on top of the chicken or inside the cavity, add wonderful aromatic notes. Use fresh herbs whenever possible, as their flavor is superior to dried herbs.
Note: These are suggested quantities. Feel free to adjust the seasoning to your preference. Always taste and adjust the seasoning before serving.
Equipment Checklist
Roasting a perfect chicken requires the right tools. This checklist ensures you have everything you need for a flawless result. Don’t skip the seemingly minor items – they all contribute to a superior outcome.
1. Roasting Pan: You’ll need a roasting pan large enough to comfortably hold your chicken without overcrowding. A 12-15 inch roasting pan is ideal for a standard 3-4 pound chicken. Avoid pans that are too shallow, as they may not allow for even browning and sufficient basting. A dark-colored pan will absorb heat more efficiently, leading to crispier skin.
2. Roasting Rack: A roasting rack is crucial. It elevates the chicken above the accumulated juices in the pan, allowing for even heat circulation and preventing the bottom from steaming instead of roasting. Choose a rack that fits snugly within your roasting pan. Wire racks are preferred for optimal airflow.
3. Meat Thermometer: This is perhaps the most important piece of equipment. A reliable instant-read meat thermometer is essential for ensuring the chicken is cooked to a safe internal temperature. Avoid using a pop-up timer; these are notoriously inaccurate. Aim for a temperature of 165°F (74°C) in the thickest part of the thigh, away from the bone.
4. Basting Spoon or Brush: For basting the chicken with its own juices or a flavorful pan sauce during roasting. A silicone basting brush is a good choice as it’s heat-resistant and easy to clean. A large spoon will also work well.
5. Kitchen Tongs: Use tongs to safely maneuver the hot chicken in and out of the oven. Avoid using forks, as they pierce the chicken and release juices, leading to dry meat.
6. Small Bowl: You’ll need a small bowl for mixing herbs, spices, or any basting liquid.
7. Paper Towels: Patting the chicken dry before roasting is essential for achieving crispy skin. Use several sheets of paper towels to ensure the chicken is thoroughly dry.
8. Oven Mitts or Gloves: These are absolutely necessary for protecting your hands from burns while handling the hot roasting pan and chicken.
Optional but Recommended: A kitchen scale for accurate weighing of the chicken (for better cooking time estimation), and a cutting board and sharp knife for preparing the chicken and carving it after roasting.
Preparation Phase: Prepping the Chicken
Before you even think about roasting, proper chicken preparation is key to achieving that perfectly crispy skin and juicy meat. We’ll be working with a whole, approximately 3-4 pound chicken for this recipe. Begin by thoroughly rinsing the chicken under cold running water. Pat the chicken completely dry with paper towels. This is crucial for achieving crispy skin; excess moisture will lead to steaming instead of browning.
Next, we’ll remove the giblets. These are usually found in a small packet inside the chicken cavity. Carefully discard the giblets, or save them for making a flavorful stock later. Thoroughly rinse the inside of the chicken cavity with cold water and pat it dry as well.
Now, let’s address the skin. Loose skin can hinder even cooking and browning. To remedy this, gently loosen the skin from the breast and legs by carefully sliding your fingers between the skin and the meat. Don’t tear the skin! Work slowly and deliberately. This will allow for better heat penetration and more even cooking.
Seasoning is paramount. For this recipe, we will use 1 teaspoon of salt, ½ teaspoon of black pepper, and ½ teaspoon of paprika. Generously season the entire chicken, both inside and out, ensuring the spice mixture gets under the loosened skin as well. This will infuse the meat with flavor and create a beautifully seasoned bird.
For added flavor and moisture, you can optionally stuff the chicken cavity with aromatics. Consider using 2 sprigs of fresh rosemary, 2 sprigs of thyme, and 4 cloves of garlic, roughly chopped. Avoid overstuffing, as this can prevent proper cooking. Finally, truss the chicken. This involves tying the legs together with kitchen twine, ensuring the bird cooks evenly and maintains a neat shape. If you don’t have twine, you can simply use a few toothpicks to secure the legs.
With your chicken prepped and seasoned, you’re ready to move on to the roasting phase. Remember, proper preparation is half the battle in achieving a perfectly roasted chicken. Take your time and be gentle with the bird – a little patience goes a long way!
Preparation Phase: Preparing the Aromatics
The success of a perfectly roasted chicken hinges not just on the bird itself, but also on the carefully chosen and prepared aromatics. These fragrant additions infuse the chicken with incredible flavor, creating a truly memorable culinary experience. We’ll be using a classic combination, easily adaptable to your preferences.
Begin by gathering your aromatics. For a 4-5 pound chicken, you’ll need approximately:
- 1 large onion, peeled and roughly chopped. Avoid overly fine chopping, as this can lead to burning.
- 4-5 cloves garlic, peeled and lightly smashed with the flat side of a knife. Smashing, rather than mincing, allows for a more even distribution of flavor and prevents burning.
- 2 carrots, peeled and roughly chopped into 1-inch pieces. Larger pieces will retain more texture and prevent them from dissolving completely.
- 2 celery stalks, roughly chopped. Similar to the carrots, larger pieces are preferable.
- 2 sprigs fresh rosemary. Feel free to substitute with 1 teaspoon of dried rosemary, but fresh offers a superior aromatic experience.
- 2 sprigs fresh thyme. Again, fresh is ideal, but 1 teaspoon of dried thyme can be used as a substitute.
- 1 lemon, halved.
Proper preparation is crucial. Don’t be tempted to skip the rough chopping. Larger pieces of vegetables will roast more evenly and won’t burn as quickly as finely minced ingredients. The goal is to release their flavors gradually throughout the roasting process, not to have them turn into a charred mess at the bottom of the pan.
Once you’ve prepared your aromatics, set them aside in a bowl. You can arrange them directly in the roasting pan with the chicken, or – for a more intense flavor infusion – create a bed of aromatics in the bottom of the roasting pan before placing the chicken on top. This creates a flavorful base that the chicken juices will mingle with.
Professional Tip: For an extra layer of flavor, consider lightly toasting your aromatics (except the lemon halves) in a dry pan over medium heat before adding them to the roasting pan. This step will caramelize the vegetables and intensify their flavors, adding depth to your roast chicken.
Remember to adjust the quantities of aromatics based on the size of your chicken. A larger chicken will require a proportionally larger amount of vegetables and herbs to achieve optimal flavor.
Cooking Techniques: Roasting the Chicken
Roasting a chicken is a seemingly simple process, but mastering the technique yields a juicy, flavorful bird every time. This section details the crucial steps to achieve perfect results.
Preparation is key. Begin by thoroughly patting your approximately 3-4 pound chicken dry with paper towels. This is crucial for achieving crispy skin. Remove any giblets from the cavity and discard or reserve for making gravy (if desired). Next, generously season the chicken inside and out. A classic combination is 1 teaspoon of salt, ½ teaspoon of black pepper, and ½ teaspoon of paprika. Feel free to experiment with your favorite herbs and spices – rosemary, thyme, garlic powder, and onion powder all work wonderfully.
Trussing the chicken (optional but recommended) helps it cook evenly and maintain its shape. Using kitchen twine, tie the legs together and tuck the wings behind the back. This ensures the breast and legs cook at a similar rate, preventing the breast from drying out before the legs are fully cooked.
Choosing the right roasting pan is also important. A roasting pan with a rack elevates the chicken, allowing for even heat circulation and crispy skin. If you don’t have a rack, you can improvise by placing the chicken on a bed of roughly chopped vegetables like carrots, onions, and celery – this adds flavor and moisture to the pan juices.
Roasting time and temperature are crucial. Preheat your oven to 425°F (220°C). Place the prepared chicken in the roasting pan and roast for approximately 1 hour and 15 minutes to 1 hour and 30 minutes, or until a meat thermometer inserted into the thickest part of the thigh registers 165°F (74°C). Do not open the oven door frequently, as this will cause the temperature to fluctuate and potentially dry out the chicken.
Basting (optional but recommended) adds extra flavor and moisture. About halfway through the roasting time, you can baste the chicken with its own pan juices using a spoon or baster. This helps keep the skin moist and prevents it from becoming too dry.
Resting the chicken is essential. Once cooked, remove the chicken from the oven and let it rest for at least 15-20 minutes before carving. This allows the juices to redistribute throughout the meat, resulting in a more tender and flavorful bird. During this resting period, you can prepare your gravy using the pan drippings.
Carving the chicken should be done carefully to avoid tearing the meat. Start by removing the legs and thighs, then separate the breast from the carcass. Slice the breast meat across the grain for optimal tenderness.
Following these techniques will guide you towards achieving a perfectly roasted chicken, a culinary feat that will impress your friends and family.
Cooking Techniques: Checking for Doneness
Perfectly roasted chicken hinges on achieving the ideal internal temperature, ensuring juicy meat and safe consumption. There are several ways to check for doneness, and combining methods provides the most accurate results. Avoid solely relying on visual cues, as color can be deceptive.
The Meat Thermometer Method: This is the most reliable method. Insert a food-grade instant-read thermometer into the thickest part of the thigh, avoiding the bone. The thermometer should register 165°F (74°C). This ensures the chicken is cooked thoroughly throughout. Do not rely on the pop-up thermometer that comes with some chickens, as these are not always accurate.
The Juices Test: Once the chicken reaches an internal temperature of around 155°F (68°C), you can perform the juices test. Pierce the thickest part of the thigh with a sharp knife or skewer. The juices should run clear, indicating the chicken is fully cooked. If the juices are still pinkish or bloody, the chicken needs more time in the oven. Note: This method is less reliable than the thermometer method, especially with larger birds.
The Leg Movement Test: Gently move the leg of the cooked chicken. If it moves easily and feels loose in the socket, it’s likely cooked through. This is a supplementary test and shouldn’t be the sole indicator of doneness. Caution: This method can be misleading, especially if the bird is very large or stuffed.
Visual Cues (Use with Caution): While not as reliable as other methods, the appearance of the chicken can offer clues. The skin should be golden brown and crispy. The juices should be clear, as mentioned above. However, never rely solely on color, as the chicken may appear cooked on the outside but remain undercooked inside.
Resting Time: After removing the chicken from the oven, let it rest for at least 15-20 minutes, loosely tented with foil. This allows the juices to redistribute, resulting in a more tender and flavorful bird. During this resting period, the internal temperature will continue to rise slightly. Do not skip this crucial step!
Professional Recommendation: Always use a calibrated thermometer for the most accurate results. Regularly check the temperature throughout the cooking process, especially towards the end, to avoid overcooking or undercooking. If you are unsure, err on the side of caution and cook the chicken to a higher temperature. Food safety is paramount.
Recommendations
For perfectly roasted chicken, begin by ensuring your chicken is completely thawed and patted dry. This crucial step promotes even browning and crispier skin. Don’t overcrowd the roasting pan; allow ample space for air circulation. Using a meat thermometer is highly recommended to guarantee the chicken reaches a safe internal temperature of 165°F (74°C) in the thickest part of the thigh. Overcooking will result in dry meat, while undercooking poses a food safety risk.
Once cooked, allow the chicken to rest for at least 10-15 minutes before carving. This allows the juices to redistribute, resulting in a more tender and flavorful bird. Carve the chicken against the grain for the most tender slices. Leftover roasted chicken can be stored in the refrigerator for up to 3-4 days in an airtight container. It can also be frozen for up to 3 months for later use.
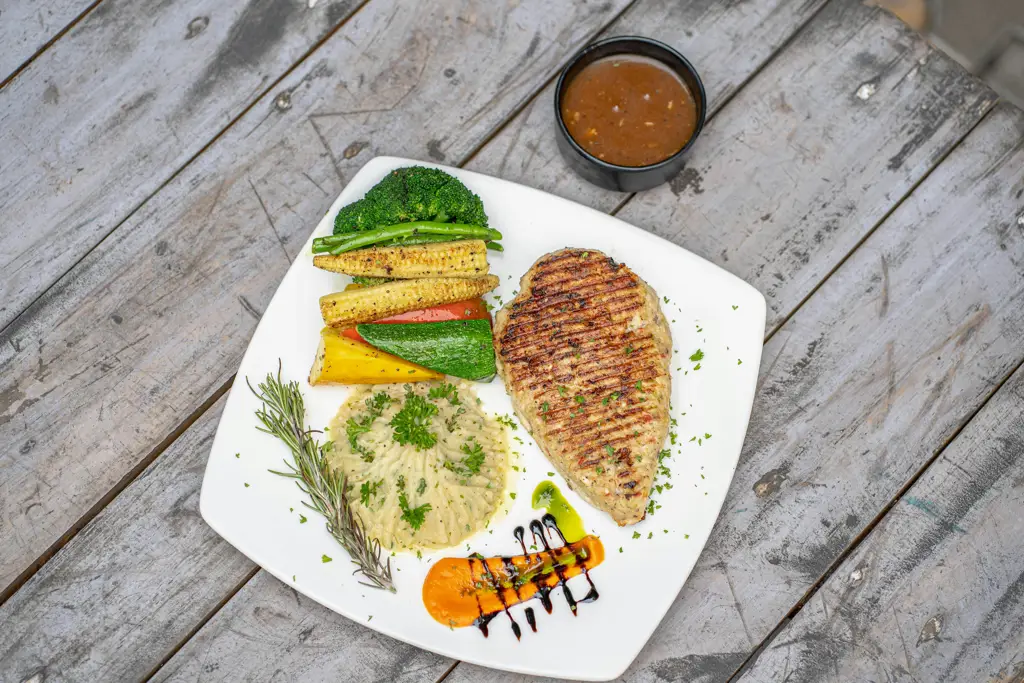
Serving suggestions are endless! Roasted chicken pairs beautifully with classic sides like roasted potatoes, mashed potatoes, gravy, green beans, and a fresh salad. For a more sophisticated touch, consider serving it with wild rice pilaf, asparagus, or a vibrant lemon-herb couscous. Don’t forget the pan juices! They are the base for a delicious gravy, simply deglaze the pan with some chicken broth or wine and whisk until thickened.
Nutritional Information (per serving, approximate): Calories: Around 250-350 (depending on size and cooking method), Protein: 30-40g, Fat: 15-25g, Carbohydrates: 0-5g (depending on added seasonings or accompaniments). These are estimates and can vary based on the size of the chicken and the ingredients used. For precise nutritional information, use a nutrition calculator and input your specific recipe details.
Important Note: Always practice safe food handling techniques. Wash your hands thoroughly before and after handling raw chicken. Ensure your kitchen tools and surfaces are clean to prevent cross-contamination.