Chicken Parmesan, a beloved dish across the globe, boasts a surprisingly rich history, though its precise origins remain somewhat debated. While definitively tracing its lineage is difficult, most food historians agree it’s a delicious evolution of classic Italian cooking, likely originating in the United States sometime in the 20th century. Unlike many Italian-American dishes with centuries-old roots, Chicken Parmesan doesn’t have a long, established tradition passed down through generations in Italy itself. Instead, it’s a testament to culinary adaptation and innovation, a perfect example of how immigrant communities transform and reinterpret traditional recipes in their new homes. The dish cleverly substituted chicken for the traditional veal cutlet found in the classic cotoletta alla Milanese, making it more accessible and economical for many families.
The exact timing of Chicken Parmesan’s rise to popularity is unclear, but its widespread adoption likely occurred post-World War II, coinciding with the increased availability of chicken and the growing popularity of Italian-American cuisine in the United States. Its appeal was immediate and widespread. The combination of crispy, breaded chicken, melted mozzarella, and rich tomato sauce proved irresistible. The simplicity of the recipe, coupled with its satisfying flavors, further contributed to its quick ascension. While precise sales figures for Chicken Parmesan are difficult to obtain, its consistent presence on restaurant menus across the US and its frequent appearance in home kitchens suggest it remains a culinary staple.
Chicken Parmesan’s cultural significance is largely tied to its status as a quintessential example of Italian-American cuisine. It represents the creative fusion of Italian culinary traditions with the readily available ingredients and tastes of the United States. The dish has transcended its humble beginnings, becoming a recognizable and popular item on menus across the country, a symbol of comfort food and family meals. It’s frequently featured in pop culture, further cementing its place in American food culture. Moreover, the ease of preparation means it’s a dish readily accessible to home cooks of all skill levels, making it a favorite for weeknight dinners and special occasions alike. This accessibility and adaptability have helped solidify its position as a beloved classic.
This recipe focuses on providing a straightforward, easy-to-follow method for making Chicken Parmesan at home. We’ll prioritize simplicity and deliciousness, using readily available ingredients to ensure anyone can recreate this iconic dish. Get ready to enjoy the satisfying crunch, the creamy mozzarella, and the vibrant tomato sauce – a culinary experience that’s both comforting and undeniably delicious!
Ingredients and Measurements
This recipe yields approximately 4 servings of delicious Chicken Parmesan. Accurate measurements are crucial for achieving the perfect balance of flavors and textures. We’ll be using both weight and volume measurements where appropriate to cater to different kitchen preferences.
Chicken Breasts: You’ll need 4 boneless, skinless chicken breasts, weighing approximately 6-8 ounces each. Choosing quality chicken is paramount. Look for plump, firm breasts with a light pink color and no unpleasant odors. If your breasts are significantly larger or smaller, adjust the breading and cooking times accordingly. Thicker breasts will require longer cooking to ensure they are cooked through.
Breadcrumbs: We’ll use 2 cups of Italian-seasoned breadcrumbs. You can purchase pre-seasoned breadcrumbs for convenience, or make your own by combining plain breadcrumbs with 1 teaspoon of dried oregano, 1/2 teaspoon of dried basil, 1/4 teaspoon of garlic powder, and a pinch of red pepper flakes. Homemade breadcrumbs offer a more nuanced flavor profile, but pre-seasoned breadcrumbs are a perfectly acceptable shortcut.
Eggs: 2 large eggs are needed for binding the breadcrumbs to the chicken. Ensure your eggs are at room temperature for easier whisking and a smoother coating. Whisk them thoroughly in a shallow dish before using.
All-Purpose Flour: 1 cup of all-purpose flour serves as the first layer of the breading, helping the breadcrumbs adhere better. Using a light dusting of flour is key; avoid over-coating, as this can lead to a heavy, doughy texture.
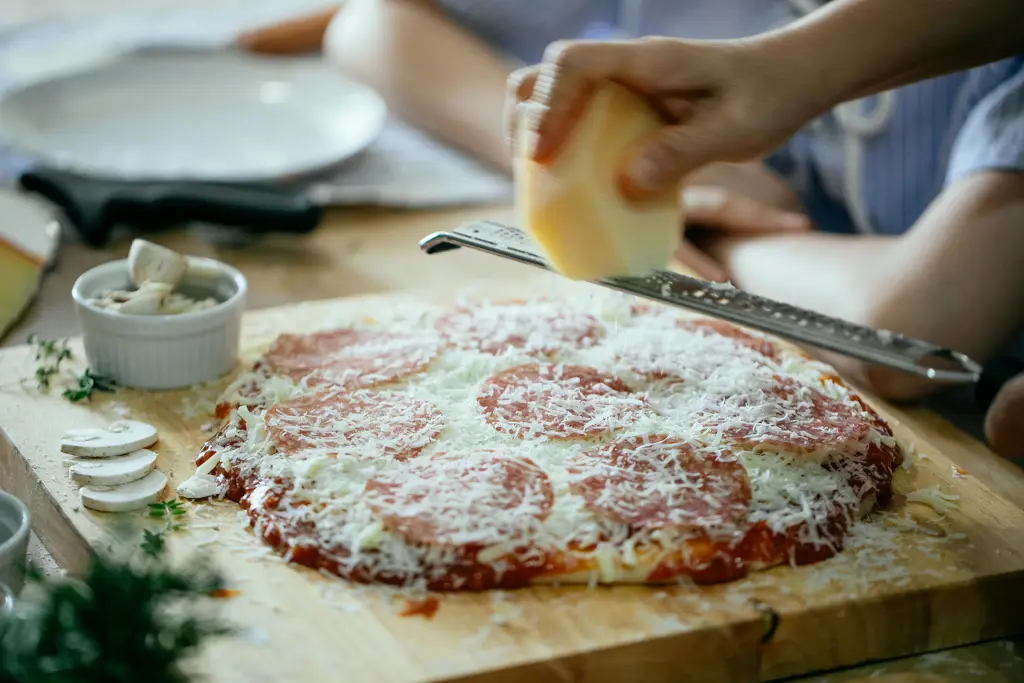
Parmesan Cheese: For the breading and topping, you will need 1 cup of grated Parmesan cheese. Freshly grated Parmesan cheese offers the best flavor and texture. Pre-grated cheese often contains cellulose, which can affect the browning and crispness of the breading. If using pre-grated, choose a high-quality brand.
Marinara Sauce: Use 2 cups of your favorite marinara sauce. Homemade sauce is ideal, but high-quality store-bought sauce works just as well. Adjust the amount according to your preference; some like a generous amount of sauce, while others prefer a more modest serving.
Mozzarella Cheese: 1 cup of shredded mozzarella cheese is used for topping. Low-moisture mozzarella shreds melt the best and create that signature stretchy, gooey texture. You can also use a blend of mozzarella and provolone for a richer flavor.
Olive Oil: You’ll need approximately 1/4 cup of olive oil for frying the chicken. Use a high-smoke-point olive oil, such as extra virgin olive oil, to prevent burning. You’ll need enough oil to submerge about 1/3 of the chicken breast in the pan.
Salt and Black Pepper: Season generously with salt and freshly ground black pepper throughout the process. Don’t be shy with the seasoning! It enhances the overall flavor of the dish significantly.
Optional additions: Consider adding fresh basil leaves to the finished dish for a pop of freshness and color. A sprinkle of red pepper flakes adds a touch of heat.
Equipment List
Making a delicious Chicken Parmesan requires the right tools to ensure a smooth and efficient cooking process. This equipment list details everything you’ll need, from preparation to serving, with recommendations for optimal results. While you might have some items already, paying attention to the specifics can significantly impact the final dish.
Large shallow dish (approximately 13×9 inches): This is crucial for breading the chicken cutlets. A larger dish allows for easier maneuvering and prevents overcrowding, which can lead to uneven breading and cooking. Avoid using a deep dish, as it will make the breading process messy and less efficient. A ceramic or glass dish is preferable as it won’t react with the ingredients.
Three separate shallow dishes (approximately 9×7 inches each): You’ll need three dishes for the breading station: one for the flour, one for the beaten eggs, and one for the breadcrumbs. Using separate dishes ensures that the different stages of breading remain distinct. Avoid cross-contamination by using clean dishes for each step.
Whisk (8-10 inches): A whisk is essential for thoroughly beating the eggs. This creates a light and airy batter that adheres well to the chicken. A balloon whisk is ideal, but a standard whisk will also work effectively. Ensure the eggs are well-beaten to achieve a consistent coating.
Large skillet (12 inches diameter): A large skillet with a heavy bottom is recommended for even cooking. Cast iron or stainless steel skillets are excellent choices. The skillet should be large enough to accommodate the chicken cutlets without overcrowding, ensuring they cook evenly and don’t steam.
Tongs or spatula: These are essential for safely handling the hot chicken cutlets during the frying and transferring stages. Use heat-resistant tongs or a spatula to avoid burns. Metal tongs are durable and easy to clean.
Baking sheet (18×13 inches): A large baking sheet is needed to hold the breaded chicken cutlets while they bake in the oven. Line the baking sheet with parchment paper for easy cleanup and to prevent the chicken from sticking.
Measuring cups and spoons: Accurate measurements are crucial for consistent results. Use standardized measuring cups and spoons to ensure the correct amounts of flour, breadcrumbs, and other ingredients. Invest in a good quality set for accurate measurements.
Meat mallet (approximately 12 inches long): A meat mallet is used to pound the chicken breasts to an even thickness, ensuring uniform cooking. Avoid using excessive force, as this can result in tearing the chicken. A flat-bottomed mallet is recommended.
Sharp knife (8-10 inches): A sharp knife is essential for safely and efficiently cutting the chicken breasts into cutlets. A chef’s knife is ideal, but any sharp knife will work. Always use caution when handling sharp knives.
Oven mitts or gloves: These are crucial for safely handling the hot baking sheet and removing the Chicken Parmesan from the oven. Use oven-safe mitts or gloves that are heat-resistant.
Chicken Preparation (Breading, etc.)
Preparing the chicken correctly is crucial for achieving that perfectly crispy, golden-brown crust in your Chicken Parmesan. This section details the steps to ensure your chicken breasts are juicy on the inside and delightfully crunchy on the outside.
We’ll start with 1.5 lbs of boneless, skinless chicken breasts. Choose chicken breasts that are relatively uniform in size for even cooking. If you have very large breasts, consider butterflying them (slicing them horizontally almost all the way through to create thinner, more even pieces) to ensure they cook through without becoming dry. Pat the chicken breasts completely dry with paper towels. This step is incredibly important; excess moisture will prevent the breading from adhering properly and will lead to a soggy, rather than crispy, result.
Next, we’ll create our breading station. Set up three shallow dishes. In the first dish, whisk together 1/2 cup all-purpose flour with 1 teaspoon salt and 1/2 teaspoon black pepper. Ensure the flour is thoroughly seasoned. In the second dish, crack 2 large eggs and whisk them lightly with 2 tablespoons of milk or water. This helps the breading adhere better. In the third dish, combine 1 1/2 cups of breadcrumbs (panko breadcrumbs are recommended for extra crispiness) with 1/4 cup grated Parmesan cheese and 1/2 teaspoon of garlic powder. Again, ensure all ingredients are well combined.
Now, it’s time to bread the chicken. Dredge each chicken breast in the seasoned flour, ensuring it’s fully coated. Shake off any excess flour. Then, dip the floured chicken into the egg mixture, making sure to coat it completely. Allow any excess egg to drip off before moving to the breadcrumb mixture. Press the chicken firmly into the breadcrumb mixture, ensuring it’s fully coated on all sides. Pressing the breadcrumbs into the chicken helps them adhere better and creates a thicker, more substantial crust.
Once all the chicken breasts are breaded, you can either cook them immediately or place them on a wire rack set over a baking sheet. If you choose to let them sit, do not refrigerate them as this can cause the breading to become soggy. If you’re not cooking immediately, allow them to rest at room temperature for no more than 30 minutes.
Professional Tip: For an even crispier crust, you can double-bread the chicken. After the initial breading, dip it back into the egg wash and then again into the breadcrumb mixture. This will create a thicker, more protective layer of breading, resulting in a superior crunch.
Remember, proper preparation is key to delicious Chicken Parmesan. Take your time with each step, and you’ll be rewarded with a mouthwatering dish.
Sauce Preparation (Marinara, etc.)
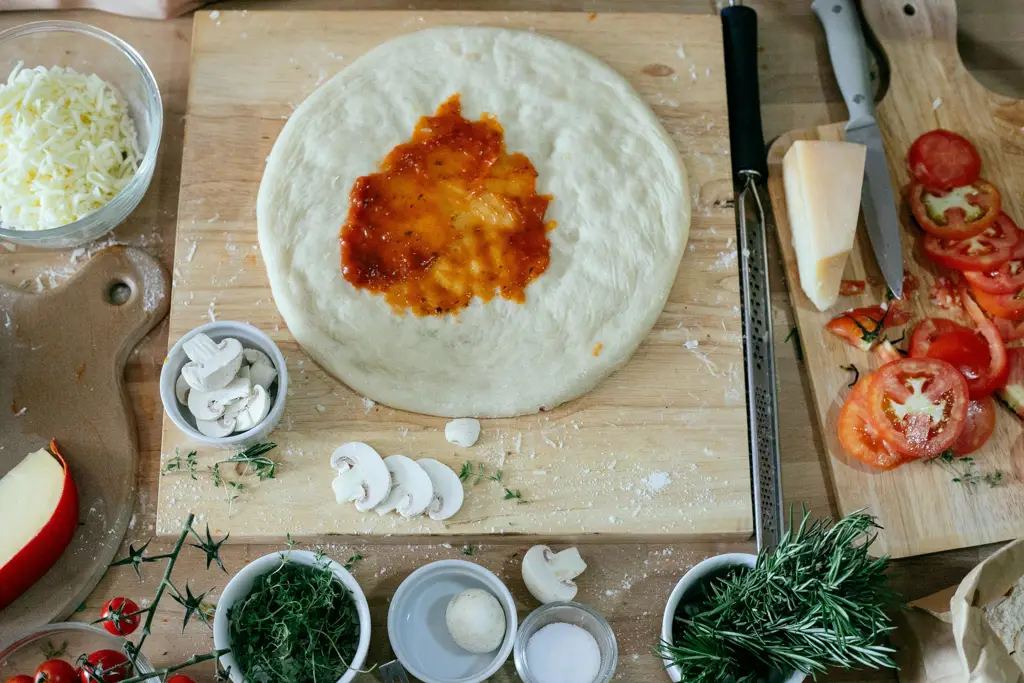
The success of your Chicken Parmesan hinges significantly on the quality of your marinara sauce. While you can certainly use a store-bought jarred sauce, making your own from scratch is surprisingly easy and yields far superior flavor. This recipe guides you through making a simple yet delicious marinara perfect for your Chicken Parmesan.
Ingredients for Homemade Marinara Sauce:
- 2 tablespoons olive oil
- 3 cloves garlic, minced
- 2 (28-ounce) cans crushed tomatoes
- 1 (15-ounce) can tomato sauce
- 1 teaspoon dried oregano
- 1 teaspoon dried basil
- 1/2 teaspoon salt
- 1/4 teaspoon black pepper
- 1/4 teaspoon red pepper flakes (optional, for a touch of heat)
- 1 tablespoon sugar (optional, to balance acidity)
Instructions:
- Heat the olive oil in a large saucepan over medium heat. Add the minced garlic and cook for about 1 minute, or until fragrant. Be careful not to burn the garlic, as this will impart a bitter taste.
- Add the crushed tomatoes, tomato sauce, oregano, basil, salt, pepper, red pepper flakes (if using), and sugar (if using) to the saucepan. Stir well to combine.
- Bring the sauce to a simmer, then reduce the heat to low. Cover the saucepan and let the sauce simmer gently for at least 30 minutes, or up to 1 hour. The longer it simmers, the richer the flavor will become. Stir occasionally to prevent sticking.
- Taste and adjust seasonings as needed. You may want to add more salt, pepper, herbs, or sugar depending on your preference. Some prefer a sweeter marinara, while others prefer a more tangy one.
- Once the sauce has reached your desired consistency and flavor, remove it from the heat. You can use an immersion blender to achieve a smoother texture if desired, but a slightly chunky sauce is perfectly acceptable.
Tips for the Best Marinara:
- Use high-quality canned tomatoes. San Marzano tomatoes are a popular choice for their sweetness and low acidity.
- Don’t be afraid to experiment with herbs and spices. A pinch of fennel seeds or a bay leaf can add depth of flavor.
- If you have time, consider making the sauce a day ahead. The flavors will meld and deepen overnight.
- Store leftover sauce in an airtight container in the refrigerator for up to 5 days. It can also be frozen for longer storage.
Using Store-Bought Sauce: If you opt for a store-bought marinara, choose a high-quality brand with minimal added sugars and preservatives. Taste it before using and adjust the seasoning as needed to complement your Chicken Parmesan.
Remember, a great marinara sauce is the foundation of a delicious Chicken Parmesan. Take your time, savor the process, and enjoy the delicious results!
Cooking the Chicken (Frying or Baking)
This section details two methods for cooking your chicken breasts for Chicken Parmesan: frying and baking. Both methods yield delicious results, but offer different textures and levels of effort. Choose the method that best suits your preferences and dietary needs.
Method 1: Frying (for a crispier crust)
Frying the chicken creates a beautifully crisp, golden-brown exterior. For optimal results, use a good quality frying oil with a high smoke point, such as canola or vegetable oil. Avoid using olive oil, as its lower smoke point can lead to burning and an unpleasant taste. Begin by preparing your chicken breasts. Cut 2 large boneless, skinless chicken breasts into 1-inch thick cutlets. This ensures even cooking. Lightly pound the cutlets to an even thickness of about ½ inch using a meat mallet or the bottom of a heavy pan. This helps them cook evenly and prevents them from becoming tough.
Season the chicken generously with salt and freshly ground black pepper. About 1 teaspoon of salt and ½ teaspoon of black pepper per pound of chicken is a good starting point. You can also add other seasonings like garlic powder, paprika, or Italian seasoning to enhance the flavor. In a shallow dish, whisk together 1 cup of all-purpose flour, ½ teaspoon of salt, and ¼ teaspoon of black pepper. In a separate shallow dish, lightly beat 2 large eggs with 1 tablespoon of water. In a third shallow dish, place 1 ½ cups of breadcrumbs (panko breadcrumbs are recommended for extra crispiness).
Dredge each chicken cutlet in the flour mixture, ensuring it’s fully coated. Then, dip it in the beaten egg, allowing excess to drip off. Finally, coat the chicken thoroughly in breadcrumbs, pressing gently to adhere. Ensure that all chicken is fully coated to ensure a crispy crust. Heat about ½ inch of oil in a large skillet over medium-high heat. The oil is ready when a pinch of breadcrumb sizzles immediately. Carefully place the chicken cutlets in the hot oil, working in batches to avoid overcrowding the pan. Fry for about 3-4 minutes per side, or until golden brown and cooked through (internal temperature should reach 165°F). Remove the chicken from the skillet and place it on a wire rack to drain excess oil.
Method 2: Baking (a healthier option)
Baking offers a healthier alternative to frying, reducing the fat content significantly. Preheat your oven to 400°F (200°C). Prepare the chicken cutlets as described in the frying method, up to the breading stage. Arrange the breaded chicken cutlets in a single layer on a baking sheet lined with parchment paper. Lightly spray the chicken with cooking spray to prevent sticking and promote browning.
Bake for 20-25 minutes, or until the chicken is cooked through and the breadcrumbs are golden brown and crispy. Use a meat thermometer to check for doneness; the internal temperature should reach 165°F (74°C). Baking time may vary depending on the thickness of your chicken cutlets and your oven. If the breadcrumbs start to brown too quickly, you can loosely tent the baking sheet with foil.
Once cooked, remove the chicken from the oven and let it rest for a few minutes before proceeding with the assembling of your Chicken Parmesan. Regardless of the cooking method you choose, ensure the chicken is thoroughly cooked before proceeding to the next steps of the recipe.
Cheese Application: Achieving Melty, Gooey Perfection
The cheese application is the crucial final step in creating the perfect Chicken Parmesan. It’s not just about sprinkling some cheese on top; it’s about achieving that beautiful, bubbly, melted layer that adds both flavor and textural contrast to the dish. This section will guide you through the process, ensuring your Chicken Parmesan is truly exceptional.
Choosing the Right Cheese: While mozzarella is the classic choice, feel free to experiment! A blend of cheeses often yields the best results. A good starting point is a combination of 8 ounces of fresh mozzarella (low-moisture is best for melting) and 4 ounces of Parmesan cheese. The Parmesan adds a salty, sharp counterpoint to the creamy mozzarella. You can also incorporate other cheeses like provolone or Asiago for added complexity. Avoid using pre-shredded cheeses, as they often contain cellulose which can prevent proper melting.
Preparing the Cheese: Proper cheese preparation is key to achieving that perfectly melted, gooey texture. If using fresh mozzarella, shred it yourself using a box grater. This ensures even melting and prevents clumping. For best results, grate the mozzarella just before using it, as it tends to release moisture when sitting. Grate the Parmesan cheese as well, using a finer grater for a smoother texture. Don’t over-grate – doing so can cause the cheese to become gummy.
Applying the Cheese: Once your breaded chicken cutlets are nestled in your baking dish, generously sprinkle half of your mozzarella and Parmesan cheese blend over the top. Make sure to distribute the cheese evenly across all the cutlets. Don’t skimp on the cheese! This is a key component of the dish’s flavor and texture. A generous layer is essential for achieving that delightful melted effect.
Adding a Finishing Touch: After the initial layer of cheese, add a layer of your tomato sauce. This helps to create moisture and prevents the cheese from drying out during baking. Then, top with the remaining cheese blend. Ensure a thick layer of cheese on top for maximum melting and browning. A slightly uneven distribution can actually enhance the visual appeal of the dish.
Baking and Broiling: After baking according to the recipe instructions (usually around 20-25 minutes at 375°F), you can take your Chicken Parmesan to the next level by broiling it for the final minute or two. Broiling creates a beautiful, golden-brown crust on the cheese, adding another layer of texture and flavor. Watch closely to prevent burning. The cheese should be melted, bubbly, and slightly browned.
Troubleshooting: If your cheese is not melting properly, it’s likely due to using pre-shredded cheese or not using enough cheese. Another potential issue is baking at too low a temperature. Adjust the temperature and cheese quantity accordingly if necessary.
By following these steps, you’ll achieve a perfectly melted, gooey cheese layer that elevates your Chicken Parmesan from good to extraordinary. Remember, practice makes perfect, so don’t be afraid to experiment and find the cheese combination and application technique that best suits your palate.
Recommendations for Easy Chicken Parmesan
This Easy Chicken Parmesan recipe is a guaranteed crowd-pleaser, but here are some recommendations to elevate your culinary experience and ensure delicious results every time.
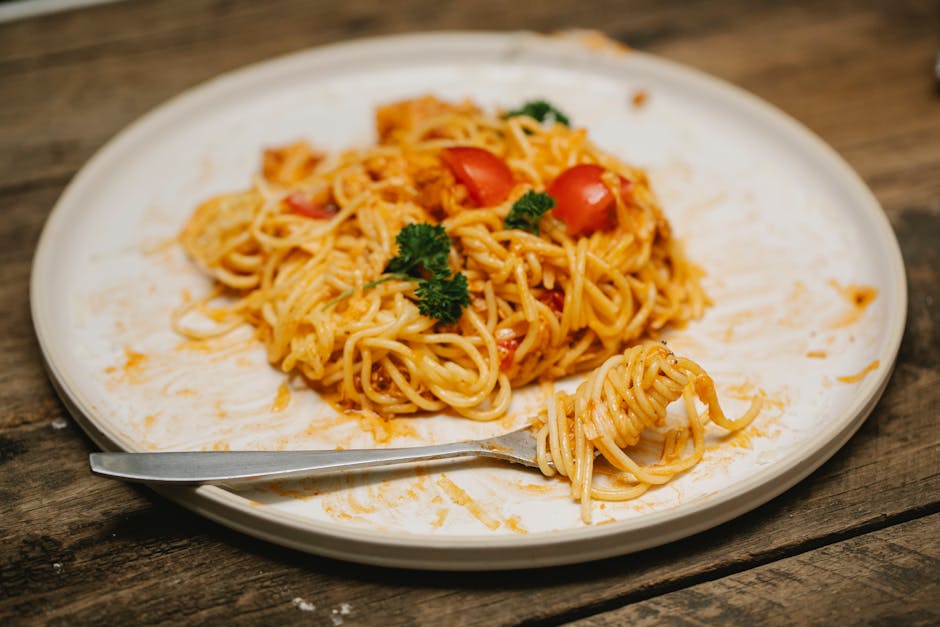
Serving Suggestions: For a truly authentic Italian-American meal, serve your Chicken Parmesan with a side of spaghetti or linguine tossed in a simple marinara sauce. The rich tomato sauce complements the crispy, cheesy chicken beautifully. Alternatively, consider serving it with garlic bread for soaking up the delicious sauce, or a fresh side salad with a light vinaigrette to add some freshness and balance to the meal. For a heartier meal, roasted vegetables like broccoli or asparagus would be a great addition.
Storage and Reheating: Leftover Chicken Parmesan can be stored in an airtight container in the refrigerator for up to 3 days. To reheat, you can either microwave it (adding a splash of water or sauce to prevent drying) or bake it in a preheated oven at 350°F (175°C) for about 10-15 minutes, until heated through and the cheese is melted and bubbly again. Avoid reheating multiple times as this can affect the texture and flavor.
Complementary Dishes: To enhance your Chicken Parmesan experience, consider these complementary dishes: A simple Caprese salad with fresh mozzarella, tomatoes, and basil adds a refreshing counterpoint to the richness of the main course. A light and zesty lemon-garlic pasta salad would also be a delightful accompaniment. For a more decadent approach, serve it with creamy polenta or risotto. Don’t forget a glass of crisp white wine, such as Pinot Grigio or Sauvignon Blanc, to complete the meal.
Variations and Tweaks: Feel free to experiment with different cheeses. A blend of mozzarella and provolone, or even some Parmesan cheese added to the breading, can add depth of flavor. If you prefer a spicier kick, add a pinch of red pepper flakes to the breading or marinara sauce. You can also use panko breadcrumbs for an extra-crispy crust. For a healthier option, consider using chicken breasts instead of thighs and baking the chicken rather than frying. This will reduce the overall fat content.
Nutritional Information (per serving, approximate – values will vary based on ingredients and portion size):
Disclaimer: These nutritional values are estimates and may vary depending on the specific ingredients used and portion sizes. For accurate nutritional information, use a nutrition calculator with your exact ingredients and measurements.
Calories: Approximately 500-600 calories
Protein: Approximately 40-50 grams
Fat: Approximately 25-35 grams
Carbohydrates: Approximately 40-50 grams
Sodium: High (due to cheese and breading – consider using low-sodium ingredients where possible)
Enjoy your delicious and satisfying Easy Chicken Parmesan!