The simple pleasure of a perfectly crafted pizza is a testament to the power of culinary evolution. While the modern pizza we know and love originated in Naples, Italy, its roots stretch back much further. Flatbreads, the ancestors of pizza, have been enjoyed across various cultures for millennia, appearing in ancient Egypt, Greece, and Rome. These early versions were often simple affairs, utilizing readily available ingredients. The introduction of tomatoes to Europe in the 16th century, however, marked a pivotal moment. Initially viewed with suspicion, tomatoes eventually became a crucial component, transforming the humble flatbread into something truly special.
The Neapolitan pizza, with its thin crust and simple toppings, is widely considered the archetype. By the late 19th century, Neapolitan pizzaiolos were perfecting their craft, developing techniques that are still employed today. The city’s vibrant street food culture played a significant role in its popularity, with pizza becoming a staple for both locals and tourists. Today, pizza’s global dominance is undeniable, with an estimated 350 slices consumed every second worldwide! This translates to billions of pizzas annually, showcasing its enduring appeal and cultural significance.
Beyond its sheer popularity, pizza holds a unique cultural position. It’s a food that transcends socioeconomic boundaries, found on menus from upscale restaurants to humble street vendors. Pizza’s versatility allows for endless variations, reflecting the culinary traditions and preferences of different regions and cultures. From the thin-crust Neapolitan to the deep-dish Chicago style, the multitude of pizzas available speaks to its adaptability and capacity for innovation. Learning to make your own pizza dough unlocks a world of culinary creativity, allowing you to experiment with flavors and toppings, crafting a pizza experience tailored precisely to your taste. This guide will walk you through the process, empowering you to create delicious homemade pizzas.
Ingredients and Measurements
Creating the perfect pizza dough hinges on precise measurements and the quality of your ingredients. Using a kitchen scale is highly recommended for accuracy, especially when working with flour, as its volume can vary based on how it’s stored and the type of flour used.
For this recipe, we’ll be making enough dough for two 12-inch pizzas. You can easily halve or double the recipe depending on your needs. Let’s start with the star ingredient: the flour. We’ll be using bread flour (400g), which has a higher protein content than all-purpose flour, resulting in a chewier, more flavorful crust. If you only have all-purpose flour, you can substitute, but expect a slightly less chewy result. Using a scale is crucial here; don’t rely on volume measurements for flour.
Next, we need warm water (260g). The water should be around 105-115°F (40-46°C). Too cold, and the yeast won’t activate properly. Too hot, and you’ll kill the yeast. Use a thermometer to ensure accuracy. We’ll also incorporate 10g of active dry yeast. Make sure your yeast is fresh; expired yeast will result in a dough that doesn’t rise properly.
For flavor and structure, we’ll add 10g of salt. Salt controls yeast activity and adds depth of flavor to the crust. Don’t be tempted to skip this crucial ingredient! We’ll also use 20g of olive oil. This adds richness and helps with gluten development, resulting in a tender yet chewy crust. You can experiment with different types of olive oil for varying flavor profiles.
Finally, for an optional boost of flavor, consider adding 1 teaspoon of sugar. This feeds the yeast and can help with a quicker rise. While not strictly necessary, it can improve the overall taste and texture of the dough. Remember to always measure your ingredients accurately for consistent and delicious results. Improper measurements can significantly impact the final product.
Ingredient Summary:
- Bread Flour: 400g
- Warm Water (105-115°F): 260g
- Active Dry Yeast: 10g
- Salt: 10g
- Olive Oil: 20g
- Sugar (optional): 1 teaspoon
Equipment Checklist
Making homemade pizza dough is a rewarding experience, but having the right equipment makes the process significantly easier and more enjoyable. This checklist details the essential tools, along with recommendations for optimal performance.
Large Mixing Bowl (at least 5-quart capacity): You’ll need ample space to mix the dough effectively. A larger bowl allows for easier kneading and prevents the dough from overflowing. Consider a stainless steel bowl for its durability and easy cleaning.
Measuring Cups and Spoons: Accurate measurements are crucial for consistent results. Invest in a set of reliable measuring cups and spoons, preferably those with clearly marked measurements in both metric (milliliters and grams) and imperial (cups and teaspoons) units. Avoid using overly worn or damaged measuring tools as this will affect the accuracy of your recipe.
Kitchen Scale (highly recommended): While you can use measuring cups, a kitchen scale provides far more accurate measurements, especially for flour and water. Flour can vary in density, so weighing it ensures consistent dough hydration. A scale with a tare function (zeroing out the weight of the bowl) is particularly helpful.
Wooden Spoon or Spatula: This is for the initial mixing of the dry ingredients. A sturdy wooden spoon is ideal, but a heat-resistant silicone spatula also works well. Avoid using metal utensils during the initial mixing stages as they can potentially damage the gluten structure prematurely.
Dough Scraper or Bench Scraper: This is invaluable for scraping down the sides of the bowl during mixing and for cleanly transferring the dough to a work surface. A sturdy, flexible metal scraper is preferred for its durability.
Work Surface: You’ll need a clean, lightly floured surface for kneading. A large, flat countertop made of granite, marble, or stainless steel is perfect. Avoid using porous surfaces like wood, as these can absorb moisture and make cleaning difficult.
Plastic Wrap or Large Bowl: After kneading, the dough needs to rise (proof) in a warm place. You can either cover the dough tightly with plastic wrap in the bowl or use a separate large bowl for the proofing process. Ensure the bowl is large enough to accommodate the dough’s increase in volume during proofing (approximately double in size).
Rolling Pin (optional but recommended): While you can stretch the dough by hand, a rolling pin makes it easier to achieve a consistently thin and even pizza crust. Choose a rolling pin that’s comfortable to grip and maneuver.
Pizza Peel or Baking Sheet: A pizza peel is ideal for transferring the pizza to and from the oven, especially if using a pizza stone. If you don’t have a pizza peel, a large baking sheet can be used, but it might make transferring the pizza a little more challenging.
Pizza Stone or Baking Steel (optional but highly recommended): Using a pizza stone or baking steel will give you a crispier crust. These materials retain heat exceptionally well, promoting browning and creating a delicious, authentic pizza crust.
Mixing the Dough
This section details the crucial process of mixing your homemade pizza dough. Follow these steps carefully for optimal results. We’ll be making a dough using the following ingredients: 1 cup (240ml) warm water (105-115°F), 1 teaspoon sugar, 2 teaspoons active dry yeast, 2 tablespoons olive oil, 2 1/2 teaspoons salt, and 3 cups (375g) all-purpose flour, plus more for dusting.
Begin by activating the yeast. In a large bowl, combine the warm water, sugar, and yeast. Ensure your water is the correct temperature; too hot will kill the yeast, too cold will prevent activation. Let the mixture stand for 5-10 minutes until foamy. This foam indicates the yeast is alive and ready to work its magic.
Once the yeast is activated, add the olive oil and salt to the bowl. Stir gently to combine. Now, gradually add the flour, one cup at a time, mixing with a wooden spoon or your hands. Don’t add all the flour at once; you may not need all 3 cups depending on the flour’s absorbency and the humidity.
As you incorporate the flour, the dough will start to come together. Initially, it will be sticky. This is normal. Continue mixing until a shaggy dough forms. At this point, it’s time to switch to kneading. Turn the dough out onto a lightly floured surface.
Knead the dough for 8-10 minutes. This is a crucial step for developing gluten, which gives the pizza its chewy texture. Kneading involves pushing, folding, and turning the dough. If the dough is too sticky, add a little more flour, a tablespoon at a time. If it’s too dry, add a teaspoon of water at a time. The dough should be smooth and elastic, not overly sticky.
Once kneaded, form the dough into a ball. Place it in a lightly oiled bowl, turning to coat. Cover the bowl with plastic wrap and let it rise in a warm place for 1-1.5 hours, or until doubled in size. The rising time may vary depending on the temperature of your environment. A slightly warmer room will result in faster rising.
After the first rise, your dough is ready for shaping and baking! Remember that patience and attention to detail during the mixing process will significantly impact the quality of your final pizza.
First Rise (Bulk Fermentation)
The first rise, or bulk fermentation, is a crucial step in developing the flavor and texture of your pizza dough. This process allows the yeast to work its magic, transforming simple ingredients into a light and airy masterpiece. For a typical pizza dough recipe using 500g of strong bread flour (approximately 4 cups), you’ll need to follow these steps carefully.
After mixing your dough (following your chosen recipe’s instructions – ensure you have a well-hydrated dough!), place it in a lightly oiled large bowl. Make sure the bowl is large enough to accommodate the dough as it will nearly double in size. A 5-quart bowl is usually sufficient for this quantity.
Cover the bowl tightly with plastic wrap, ensuring no air can get in. Alternatively, you can use a damp kitchen towel. This prevents the dough from drying out and forming a crust during fermentation. A dry surface will inhibit the yeast activity, leading to a less flavorful and less airy dough.
Now comes the waiting game. The ideal fermentation time depends on your ambient temperature. In a warm environment (around 75-80°F or 24-27°C), the dough should rise for approximately 2-3 hours. In cooler environments, it might take up to 4 hours or even longer. The dough is ready when it’s almost doubled in size and noticeably puffy. You should be able to gently press into it and see that it springs back slowly.
Don’t be tempted to rush this process! Sufficient fermentation time is essential for developing the gluten structure and creating the characteristic flavor of your pizza dough. Under-fermented dough will be dense and chewy, lacking the desired airy texture. Over-fermented dough, on the other hand, can be too sour and weak.
To check for doneness, gently poke the dough with a finger. If the indentation slowly springs back, the dough is ready. If it stays indented, it needs more time. If it springs back quickly, it might be over-fermented. Use your judgement and experience – the feel of the dough is your best guide.
Once the first rise is complete, gently degas the dough by pressing it down to release excess gas. This is important before shaping and the second rise (proofing).
Shaping the Dough
Once your pizza dough has completed its first rise and doubled in size, it’s time to shape it. This process is crucial for achieving a perfectly crisp crust and even baking. Gently turn the dough out onto a lightly floured surface – about 1 – 2 cups of all-purpose flour should suffice. Avoid using too much flour, as this can make the dough tough. Remember to keep your hands lightly floured to prevent sticking.
For a classic round pizza, gently press the dough into a rough circle using your fingertips. Avoid aggressively kneading the dough at this stage, as this will deflate it and affect the texture. Instead, work from the center outwards, gradually stretching the dough. You can use a rolling pin if preferred, but be careful not to roll it too thin, aiming for a thickness of about 1/4 to 1/2 inch. If you find the dough springing back, let it rest for a few minutes before continuing. This allows the gluten to relax.
For a more rustic look, you can skip the rolling pin altogether. Simply gently stretch and shape the dough with your hands, working it into a roughly circular or oval shape. This method results in a slightly thicker crust with a pleasingly irregular edge.
Once you’ve achieved your desired shape and thickness, carefully transfer the dough to your pizza pan or pizza stone. If using a pizza stone, sprinkle it lightly with cornmeal to prevent sticking. If using a peel, ensure it’s generously dusted with flour or cornmeal.
Regardless of your chosen shaping method, ensure the dough is evenly distributed. Uneven thickness will lead to uneven baking, with some parts being burnt while others remain doughy. Take your time and gently adjust the dough as needed. If you encounter any tears or holes, don’t worry, simply gently patch them up with more dough.
After shaping, allow the dough to rest for another 10-15 minutes. This final rest allows the gluten to relax further, preventing shrinkage during baking and ensuring a beautifully shaped pizza. This step is particularly important if you’ve used a rolling pin and want to prevent the dough from springing back during baking. This short rest will make a significant difference in your final product.
Now you’re ready to add your sauce and toppings! Enjoy the process of creating your perfect homemade pizza.
Second Rise (Proofing)
After the initial bulk fermentation, your pizza dough will need a second rise, often called proofing. This crucial step allows the gluten structure to relax further, resulting in a more tender and flavorful crust. The length of the second rise depends on several factors, including your ambient temperature and the desired final texture.
For optimal results, aim for a proofing temperature between 70-75°F (21-24°C). A slightly warmer environment will speed up the process, while a cooler one will slow it down. Avoid temperatures above 80°F (27°C), as this can lead to over-proofing and a dough that’s too weak and difficult to handle.
Gently transfer your dough from its mixing bowl to a lightly oiled bowl, turning it once to coat. Cover the bowl tightly with plastic wrap, ensuring no air escapes. Alternatively, you can use a damp kitchen towel, though plastic wrap is generally more effective at preventing crust formation.
The second rise typically takes 1-2 hours. However, this is just a guideline. The dough is ready when it has almost doubled in size and feels soft and puffy to the touch. A gentle poke with your finger should leave a slow indentation that springs back slightly. If the indentation remains, the dough needs more time. If it springs back too quickly, it may be over-proofed.
Over-proofing results in a weak, gummy crust. Under-proofing, on the other hand, leads to a tough, chewy crust. Therefore, carefully monitor your dough during this stage. If you’re unsure, it’s always better to err on the side of caution and give it a little more time.
Once proofed, gently deflate the dough by pressing it down. This releases trapped gases and makes it easier to shape. You can now proceed to divide the dough into individual portions, shape your pizzas, and prepare them for baking. Remember to handle the dough gently during this stage to avoid damaging the delicate gluten structure developed during the proofing process. Gentle handling is key to a perfect pizza crust.
For a more controlled environment, consider proofing your dough in a proofing box or a warm oven (turned off, of course!). This will provide a more consistent temperature and humidity level, leading to more predictable results.
Recommendations
For the best results when making homemade pizza dough, ensure your ingredients are at room temperature before mixing. This allows for optimal gluten development, resulting in a chewier, more flavorful crust. Don’t rush the kneading process! Proper kneading is crucial for a light and airy dough. If you find the dough too sticky, add a little more flour, one tablespoon at a time. Conversely, if it’s too dry, add a teaspoon of water at a time.
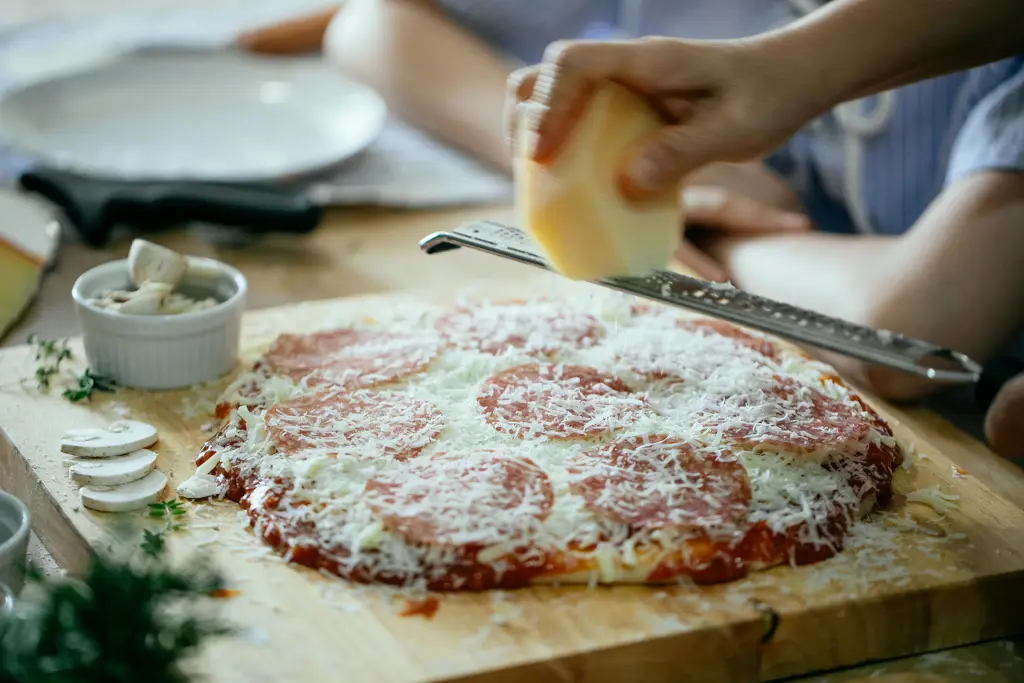
Once your pizza is baked to perfection, let it cool slightly before slicing and serving. Serving suggestions are endless! Classic toppings like pepperoni, mushrooms, and onions are always a hit. Consider exploring more adventurous combinations, such as roasted vegetables, prosciutto and arugula, or even a spicy chorizo and pineapple pizza. Get creative and have fun with it!
Leftover pizza dough can be stored in the refrigerator for up to 3 days, tightly wrapped in plastic wrap. For longer storage, freeze the dough in a freezer-safe bag for up to 3 months. Remember to thaw it completely in the refrigerator before using.
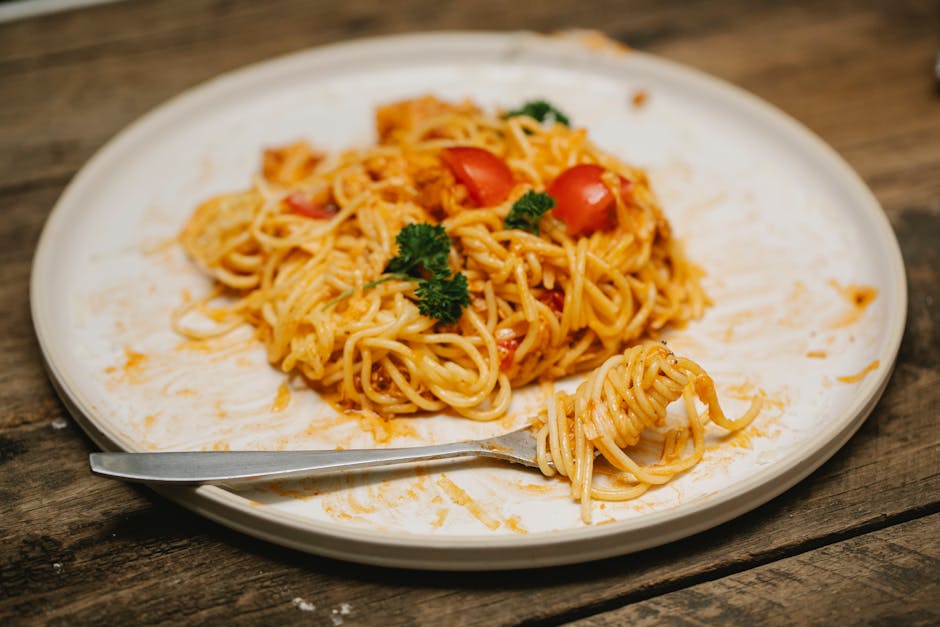
To complement your homemade pizza, consider serving a simple side salad with a light vinaigrette dressing. A Caprese salad, with fresh mozzarella, tomatoes, and basil, is a classic Italian pairing. Garlic bread or bruschetta are also excellent choices to round out your meal. For a heartier side, roasted vegetables or a simple pasta salad could be a great complement.
Nutritional Information (per serving, approximate, will vary based on toppings): The nutritional content of the pizza dough itself is relatively low in fat and sugar but is a source of carbohydrates. A typical serving of plain pizza dough (around 100g) might contain approximately 200-250 calories, 40-50g carbohydrates, 5-7g protein, and 2-3g fat. Note: This does not include the calories and nutrients from toppings, which can significantly increase the overall nutritional value.