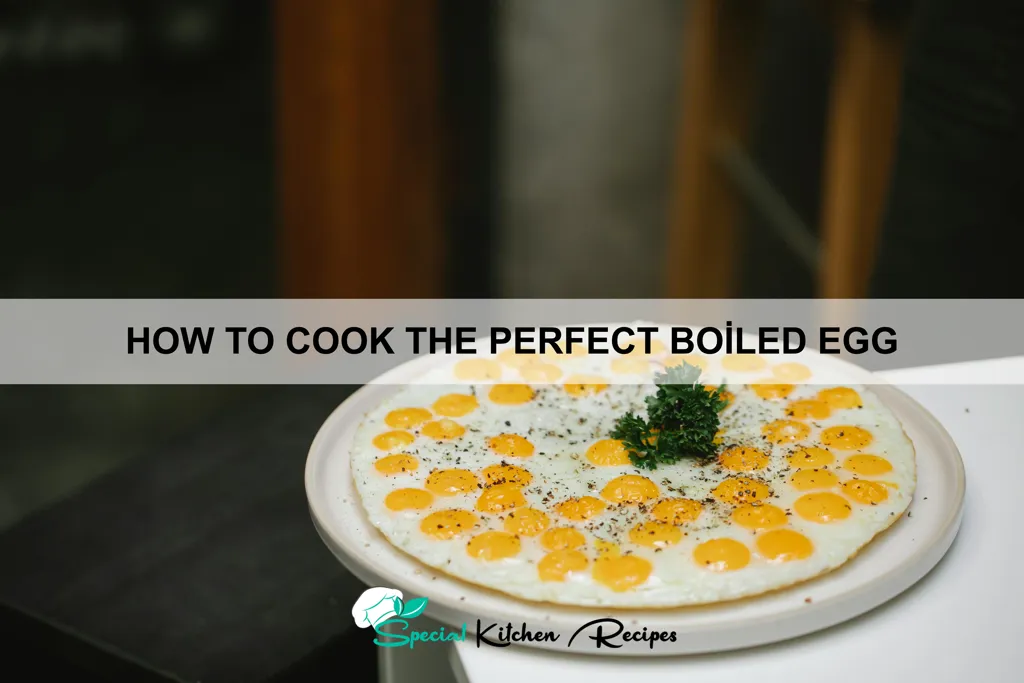
The humble boiled egg: a seemingly simple dish with a surprisingly rich history and global appeal. Its origins are lost to time, predating written records, but evidence suggests that humans have been enjoying cooked eggs for millennia. Archaeological findings indicate egg consumption dates back to the Neolithic period, with evidence of eggshells found in ancient settlements. The method of boiling, a straightforward yet effective way to cook an egg, likely developed alongside the discovery of fire itself, providing a safe and convenient way to preserve and consume this highly nutritious food source.
Across cultures, the boiled egg holds a significant place in culinary traditions. In many parts of the world, it’s a breakfast staple, a quick and easy protein source to start the day. Globally, the annual per capita consumption of eggs is estimated to be around 200, with significant variations between countries. For example, countries like Mexico and China boast much higher per capita consumption compared to others. Beyond breakfast, boiled eggs feature prominently in various cuisines. They are a key ingredient in salads, sandwiches, and even some desserts, demonstrating their incredible versatility.
Beyond its nutritional value and culinary uses, the boiled egg has also acquired symbolic meaning in different cultures. In some traditions, it represents new beginnings or fertility, often used in celebratory meals and rituals. The perfectly boiled egg, with its firm white and a runny yolk, is a testament to precision and patience in the kitchen. Achieving the ideal texture requires understanding the relationship between cooking time and egg freshness, a nuanced skill that many home cooks strive to master. This guide will explore the techniques to achieve that perfect boil, guiding you to culinary egg-cellence.
Ingredients
The seemingly simple boiled egg relies heavily on the quality of its core ingredient: the egg itself. While it might seem trivial, choosing the right eggs dramatically impacts the final result. Opt for fresh, high-quality eggs. The freshness ensures a firm yolk and a clean, easily-peelable white. Older eggs, while still usable, tend to have a more rubbery white and a flatter, less vibrant yolk. You can check the freshness by placing the egg in a bowl of water; a fresh egg will lie flat on its side, while an older egg will tilt or even float.
For this recipe, you’ll need a precise quantity of eggs, dependent on your serving needs. Let’s assume we’re aiming for two large eggs (approximately 50-55g each). This quantity is ideal for a single serving or a small breakfast. Adjust the number of eggs according to the number of servings required. Remember to use the same size eggs for consistency in cooking time.
Beyond the eggs themselves, you’ll need only one other crucial ingredient: cold water. The quantity of water is essential for achieving consistent cooking. Use enough water to completely submerge the eggs, leaving at least an inch of space between the eggs and the top of the pan. This prevents the eggs from cracking during cooking and ensures even heat distribution. For two large eggs, approximately 2 cups (500ml) of cold water is sufficient. Using more water doesn’t affect the cooking time significantly, but using less can lead to uneven cooking and sticking.
While optional, adding a pinch of salt to the water (approximately 1/4 teaspoon) is a common practice. This isn’t crucial for cooking the egg itself, but it does help with two things: it slightly seasons the egg white, and more importantly, it helps to prevent cracking and makes the shell easier to peel. The salt strengthens the egg white membrane, reducing the chance of it breaking during the cooking process.
Finally, you’ll need a medium-sized saucepan suitable for holding the eggs and the water. Choose a pan with a thick base for even heat distribution, minimizing the risk of hot spots that might cause unevenly cooked eggs. A non-stick saucepan is not strictly necessary, but it can make cleaning up easier, especially if any cracking occurs.
Equipment
Cooking the perfect boiled egg relies not just on technique, but also on the right equipment. While seemingly simple, the tools you use can significantly impact the final result, affecting everything from even cooking to easy peeling.
The most crucial piece of equipment is a saucepan. Choose a saucepan with a diameter that comfortably accommodates your eggs without overcrowding. For a standard batch of 6 large eggs, a 2-quart saucepan works well. Avoid using a pan that’s too small, as this can lead to uneven heating and cracked eggs. A heavier-bottomed saucepan is preferable, as it distributes heat more evenly, preventing hot spots that could cause uneven cooking or scorching.
Next, you’ll need a slotted spoon. This is essential for gently lifting the eggs out of the boiling water without damaging the shells. A regular spoon can work, but a slotted spoon allows water to drain away, making handling the hot eggs easier and safer.
A timer is absolutely essential for achieving consistent results. Boiling eggs for even a minute too long or too short can dramatically alter the texture of the yolk. A kitchen timer, or even a timer on your phone, is needed to accurately track the cooking time.
An ice bath is highly recommended for easier peeling. This step is crucial for halting the cooking process immediately and making the eggs significantly easier to peel. A large bowl capable of holding your eggs and enough ice water to fully submerge them is necessary. Use a ratio of approximately 1:2 ice to water for optimal cooling.
Optional, but highly recommended, is an egg piercer. This small tool creates a tiny hole in the wider end of the egg before boiling. This allows steam to escape, reducing the pressure inside the egg and minimizing the risk of cracking. While not strictly necessary, it significantly improves the chances of perfectly intact eggs.
Finally, consider a clean, dry surface for cooling and peeling. A clean kitchen towel or a cooling rack offers a stable, non-slip surface for handling the eggs post-boiling. A damp surface can increase the likelihood of slippage and accidental cracking.
In summary: For perfectly boiled eggs, invest in a good quality saucepan, a slotted spoon, a reliable timer, and an ice bath. An egg piercer is a worthwhile addition for preventing cracks, and a clean, dry surface aids in efficient peeling. Using the right equipment, combined with proper technique, guarantees consistently delicious boiled eggs every time.
Preparation of Ingredients
The seemingly simple task of boiling an egg hinges on proper ingredient preparation. While the ingredient list is short – just eggs and water – attention to detail here significantly impacts the final result. We’ll focus on the eggs themselves, as the water requires minimal preparation.
First, select your eggs carefully. Freshness is key. Older eggs are more likely to have a larger, more easily-movable yolk, increasing the chance of a rubbery or unevenly cooked texture. Check the expiration date on the carton and aim for eggs that are as close to their best by date as possible without being past it. Avoid eggs with cracks; these can lead to leakage and uneven cooking.
The quantity of eggs will depend on your needs, of course. For this guide, we’ll assume you’re preparing 2-4 eggs, a common household quantity. If you’re making a larger batch for a brunch or picnic, simply scale up the quantities proportionally. Remember, overcrowding the pot can lead to uneven cooking and cracked eggs.
Next, prepare the eggs for boiling. Gently wash the eggs under cold running water. This removes any surface dirt or debris. Avoid using hot water, as this can cause the eggs to crack more easily during the cooking process. A soft cloth can be used to further clean the eggs if needed, but be gentle to prevent cracking.
Room temperature eggs are generally recommended. Cold eggs are more prone to cracking during the sudden temperature change when placed in boiling water. Allowing your eggs to sit at room temperature for about 30 minutes before boiling helps to mitigate this risk. However, if you’re short on time, using cold eggs directly from the refrigerator is acceptable; just be extra cautious during the boiling process. To further prevent cracking, you can add a pinch of salt to the boiling water – this helps to strengthen the egg’s shell.
Finally, prepare your pot. Choose a pot of appropriate size; a pot that comfortably holds the eggs and allows for at least an inch of water coverage is ideal. Too small a pot will lead to overcrowding and uneven cooking, while too large a pot might require excessive amounts of water and energy to heat effectively. Measure out the water: you need enough to completely submerge the eggs by at least one inch. For 2-4 eggs, about 2 cups of water should suffice.
Cooking Process
The key to a perfect boiled egg lies in precise timing and gentle handling. Begin by selecting eggs that are fresh – older eggs tend to have looser whites and are more prone to cracking. Gently place the desired number of eggs (let’s say 6 for this example) into a single layer in a medium-sized saucepan. Avoid overcrowding the pan, as this can lead to uneven cooking and cracked eggs.
Cover the eggs completely with cold water. Add approximately 1 tablespoon of salt to the water. This helps prevent cracks from spreading and also aids in easier peeling later. Bring the water to a rolling boil over high heat. Once boiling, immediately remove the saucepan from the heat. This is crucial; we’re not simmering, we’re using the residual heat to cook the eggs.
Cover the saucepan with a lid and let the eggs sit undisturbed for the desired cooking time. The cooking time will determine the consistency of the yolk:
- 3 minutes: Very runny yolk, soft white.
- 4-5 minutes: Runny yolk, slightly firmer white.
- 6-7 minutes: Creamy yolk, firm white.
- 8-10 minutes: Firm yolk, firm white.
Adjust cooking time based on your egg size and desired level of doneness. Larger eggs will require slightly longer cooking times than smaller eggs. After the allotted time, immediately drain the hot water and run cold water over the eggs for about 30 seconds. This stops the cooking process and helps prevent the yolks from turning green.
Gently roll the eggs on a clean countertop to create micro-fractures in the shell. This will aid in peeling. Begin peeling the eggs under cold running water; the water helps separate the shell from the egg white. Peel carefully from the large end, gently working your way around the egg. If you encounter resistance, stop and submerge the egg back in cold water for a few seconds before continuing.
Once peeled, your perfectly boiled eggs are ready to be enjoyed! Remember, practice makes perfect. Don’t be discouraged if your first attempt isn’t flawless. With a little experimentation, you’ll master the art of boiling the perfect egg every time.
Testing for Doneness
Achieving the perfect boiled egg depends heavily on accurately determining doneness. There are several methods to test for doneness, each offering a slightly different level of precision. The best method for you will depend on your experience and desired level of yolk consistency.
The Spin Test: This is a quick and easy method, ideal for beginners. Gently spin the cooked egg on a flat surface. A very runny yolk will wobble significantly, a medium yolk will wobble slightly, and a hard-boiled egg will spin steadily without wobbling at all. This method is less precise for determining the exact consistency, however, it’s great for a general idea of doneness.
The Visual Inspection (after peeling): Once you’ve peeled the egg, visual inspection offers the most precise method. A perfectly runny yolk will be bright orange and completely liquid. A soft-boiled egg will have a still-liquid yolk, but it will show some slight thickening around the edges. A medium-boiled egg will have a creamy, mostly set yolk with a still slightly runny center. A hard-boiled egg will have a fully firm, opaque yolk.
The Time Method (for consistent results): While not foolproof due to variations in egg size and starting temperature, timing is a reliable method, especially once you’ve established your preferred cooking time. For a soft-boiled egg with a runny yolk, cook for 3-4 minutes after the water returns to a rolling boil. For a medium-boiled egg with a creamy yolk, cook for 6-7 minutes. For a hard-boiled egg with a fully set yolk, cook for 8-10 minutes. Remember to always start timing after the water returns to a boil.
The Immediate Cool Down Method: Immediately after boiling, transfer the eggs to a bowl of ice water to stop the cooking process. This prevents overcooking and makes peeling much easier. Allow the eggs to cool in the ice bath for at least 5 minutes before peeling. This helps to create a gap between the egg white and shell, making peeling simpler and less likely to result in a ragged, broken egg.
Professional Recommendation: For the most consistent results, combine the time method with the ice bath cool-down. This will provide a reliable baseline for achieving your desired level of doneness. Practice these methods several times to find what works best for your stovetop and preferred egg consistency. Don’t be afraid to experiment slightly with timing to perfect your technique. Remember that even a slightly longer cooking time will result in a firmer yolk.
Cooling and Peeling
Once your eggs are perfectly boiled, the next crucial step is cooling and peeling them. Proper cooling is key to achieving easy peeling. Immediately after the cooking time is complete, transfer the eggs from the boiling water to a bowl filled with ice water. This abrupt temperature change halts the cooking process and prevents the yolk from continuing to cook and becoming dry and chalky. Use enough ice water to completely submerge the eggs; a ratio of about 1 cup of ice to 2 cups of water works well for a standard batch of eggs.
Let the eggs sit in the ice bath for at least 10-15 minutes. This allows them to cool thoroughly and makes the membrane separating the egg white from the shell contract, facilitating easier peeling. Don’t leave them in the ice bath for too long, however, as this can make the whites watery.
After cooling, gently tap the eggs all over on a hard surface like a countertop. This creates tiny cracks in the shell, weakening it and making peeling easier. Avoid hitting the eggs too hard, as this can damage the egg itself. A light, even tapping is all that’s needed.
Now, begin peeling. Start by peeling under cold running water. The water helps to loosen the shell and prevents the egg white from sticking to the shell. Use your thumbs to gently peel, starting at the larger end of the egg where there’s usually a small air pocket. If the shell is particularly stubborn, try rolling the egg between your palms to create more cracks before attempting to peel again. Work slowly and patiently; rushing can lead to tearing the egg white.
If you encounter stubborn bits of shell clinging to the egg white, use the edge of a spoon to carefully lift them off. Never pull the shell off forcefully, as this will inevitably tear the egg white. With a little practice and patience, you’ll master the art of peeling perfectly boiled eggs every time, leaving you with smooth, unblemished beauties ready for your culinary creations.
Professional Tip: For incredibly easy peeling, add a teaspoon of baking soda to the boiling water when cooking the eggs. The baking soda helps to slightly raise the pH of the water, making the shell more porous and easier to separate from the egg white.
Recommendations for the Perfect Boiled Egg
For achieving the perfect boiled egg, start with fresh, high-quality eggs. Older eggs are more prone to cracking and have a less firm yolk. The cooking time is crucial; experiment to find your preferred level of doneness – from soft-boiled to hard-boiled. Remember that cooking time will vary slightly depending on the size of your eggs and your stove’s heat.
Once cooked, immediately transfer the eggs to an ice bath to halt the cooking process and prevent further cooking. This step is essential for achieving a perfectly set yolk and easy peeling. Gently roll the eggs on a counter to create micro-fractures in the shell before peeling for smoother removal.
Serving suggestions are plentiful! Enjoy your boiled eggs as a quick and healthy breakfast, sliced over avocado toast, or in a hearty salad. They also make a great addition to sandwiches, deviled eggs, or egg salad. For a sophisticated touch, try topping a perfectly poached egg with hollandaise sauce or a sprinkle of everything bagel seasoning.
Storage: Refrigerate peeled boiled eggs in an airtight container for up to 3 days. Unpeeled boiled eggs can last up to a week in the refrigerator. Always ensure eggs are thoroughly chilled before storing to prevent bacterial growth.
Complementary dishes that pair beautifully with boiled eggs include crusty bread, smoked salmon, various greens (like spinach or arugula), and a light vinaigrette. They also make a great addition to breakfast burritos, quiches, and frittatas.
Nutritional Information (per large egg): Calories: Approximately 78, Protein: 6 grams, Fat: 5 grams, Cholesterol: 186 mg. Note: Nutritional information may vary slightly depending on the size and type of egg.
Important Note: Always practice safe food handling techniques. Discard any eggs that show signs of cracking or spoilage.